
Loco Translation
Learn how to translate the User Registration & Membership plugin into any language using Loco Translate or WordPress.org contributions.
Last updated on Jul 15, 2026
Would you like to make your registration forms and membership pages available in multiple languages? User Registration & Membership is translation-ready, allowing you to translate the plugin into any language without modifying code. This tutorial will show you how to translate the plugin using Loco Translate or contribute translations through WordPress.org.
Before getting started, make sure you've installed and activated the User Registration & Membership plugin on your WordPress site.
Translating with Loco Translate (Recommended)
Loco Translate is a WordPress plugin that provides a visual interface for translating plugins directly from your dashboard. This is the fastest way to translate User Registration & Membership for your site.
Installing Loco Translate
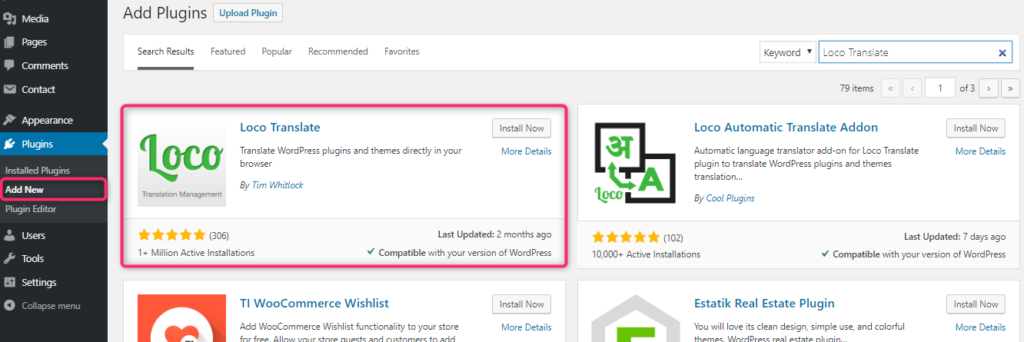
To install Loco Translate, go to Plugins > Add New from your WordPress dashboard. Type 'Loco Translate' in the search bar. Once the plugin appears in the results, click Install Now, then click Activate after installation completes.
Setting Up Your Translation
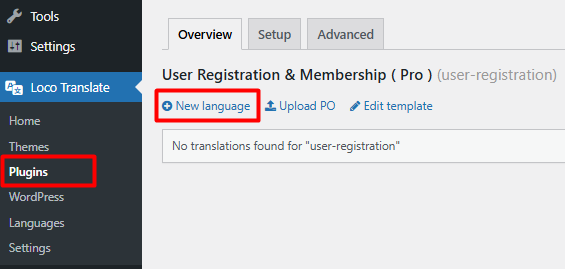
Once Loco Translate is active, navigate to Loco Translate > Plugins from your dashboard. Click on User Registration and Membership from the plugin list.

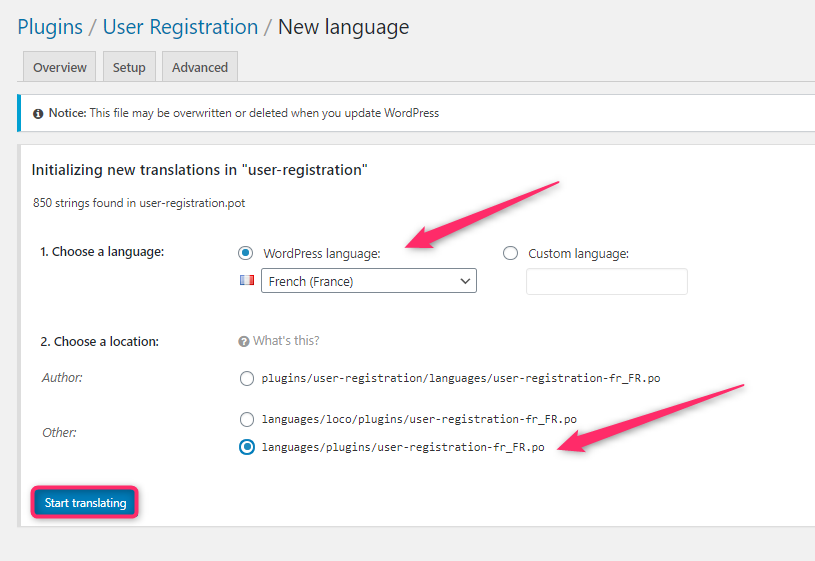
Click on New Language. Here, you'll see all available languages under 'WordPress language.' Choose your target language from the list.
Next, select the location for your translation file. We recommend choosing languages/plugins/user-registration-.po to preserve your translations during plugin updates. Click Start translating to set up the new language.
Translating Plugin Text
In the translation interface, you'll see all translatable text from the plugin in the Source text window. Click any text in the Source text window to select it. Then, enter your translation in the translate window below the Source text. Click Save to store your translations.
Loco Translate automatically pulls all hardcoded texts from the plugin, so you don't need to search for strings manually. Simply, in the source text window, click on any of the text you want to translate. Then, move to the translate window below under the Source text window and insert the translation you want to provide.
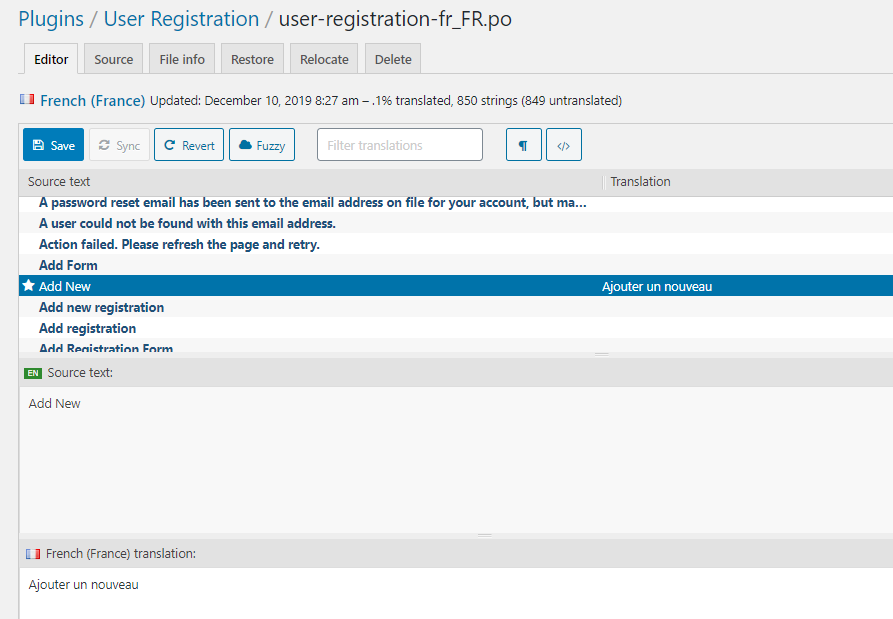
Click on save after you are done translating the text to save the plugin settings and the translations for the required settings should be set.
Verifying Your Translation
To verify your translations are working, go to Settings > General in your WordPress dashboard. Change the 'Site language' dropdown to the language you just translated.
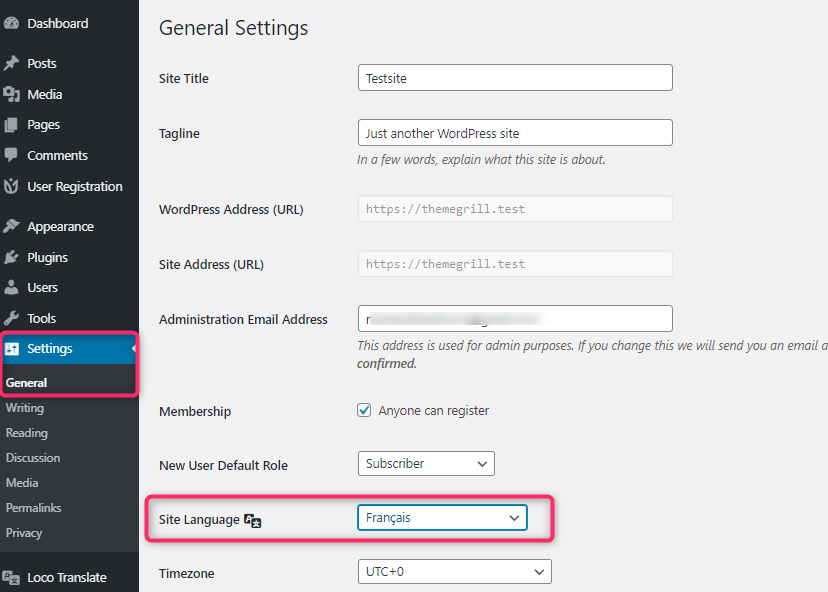
Click Save Changes, then refresh any admin page to see your translations applied.