
Just after you install and activate the plugin, you will be welcomed with the following page.
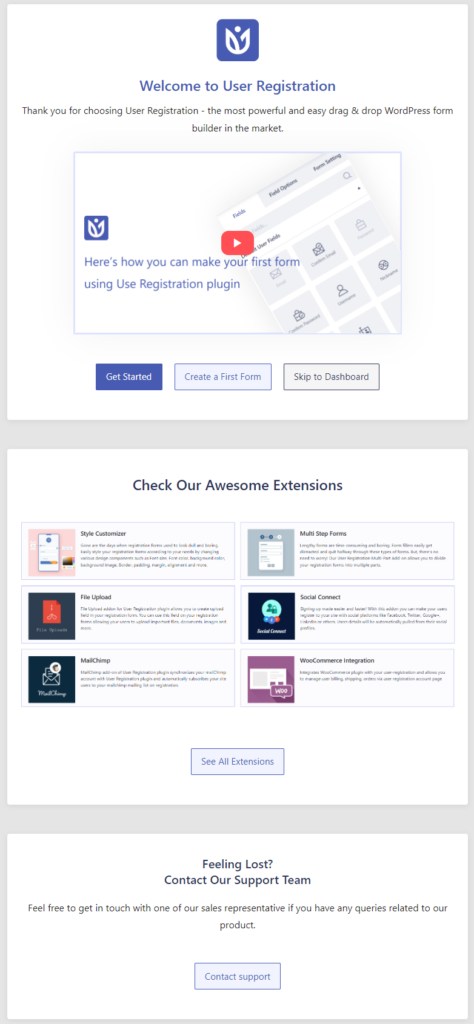
Now, click on the ‘Get Started‘ option on the first banner and you will see the main multi-part setup screen.
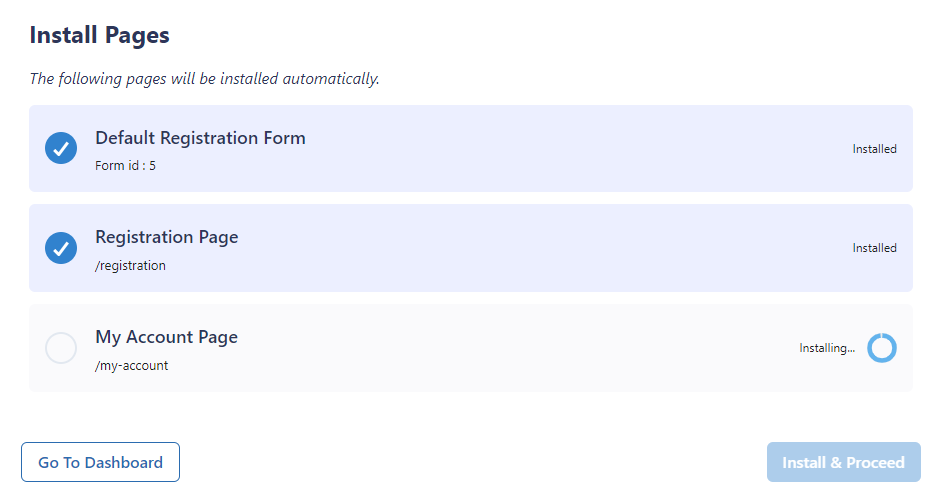
Install Pages #
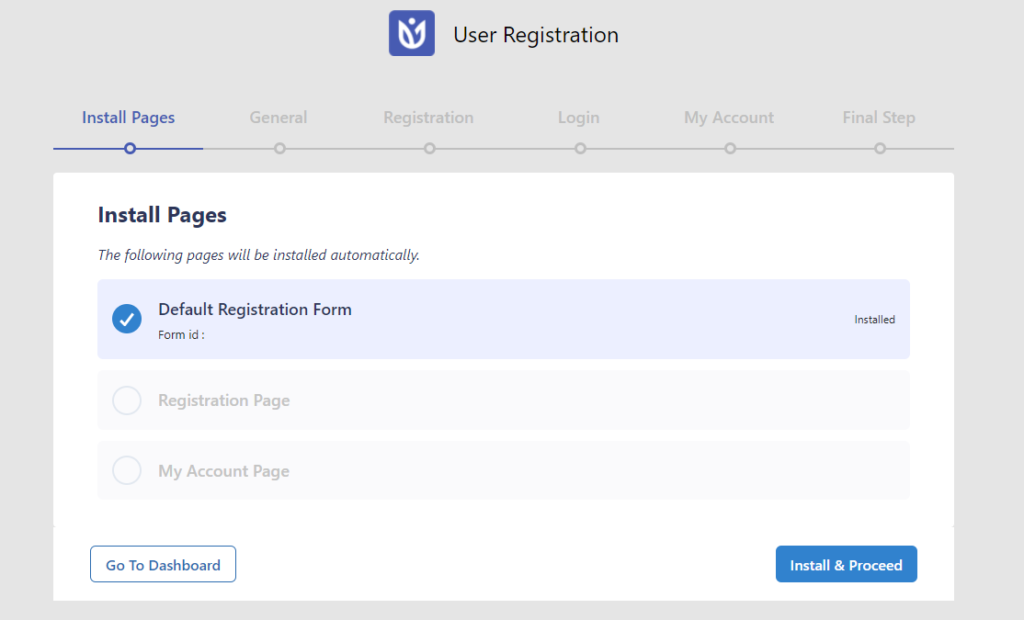
Now, click on ‘Install & Proceed’ to install the required pages.
General Settings #
Once the installation of all the pages has been completed, you can move on to the next page which is the General Settings page.
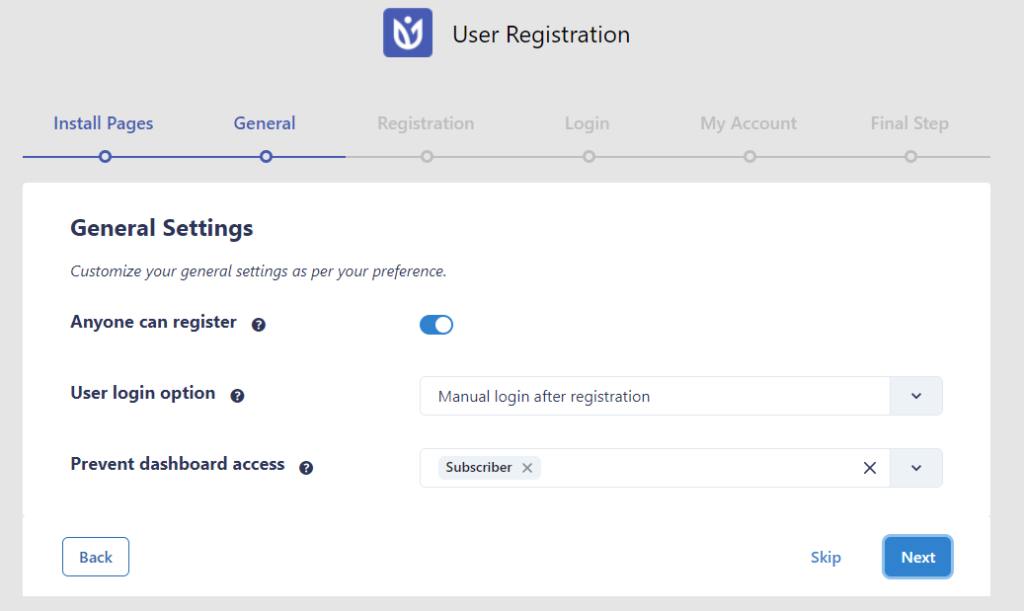
Here, you can set the very basic options for this step.
- Anyone Can Register: This option will let you enable the registration for anyone.
- User Login Option: This option will let you set the login option after the registration.
- Prevent Dashboard Access: Select the user roles to prevent them from accessing the dashboard.
You can also ‘Skip‘ this step.
Registration #
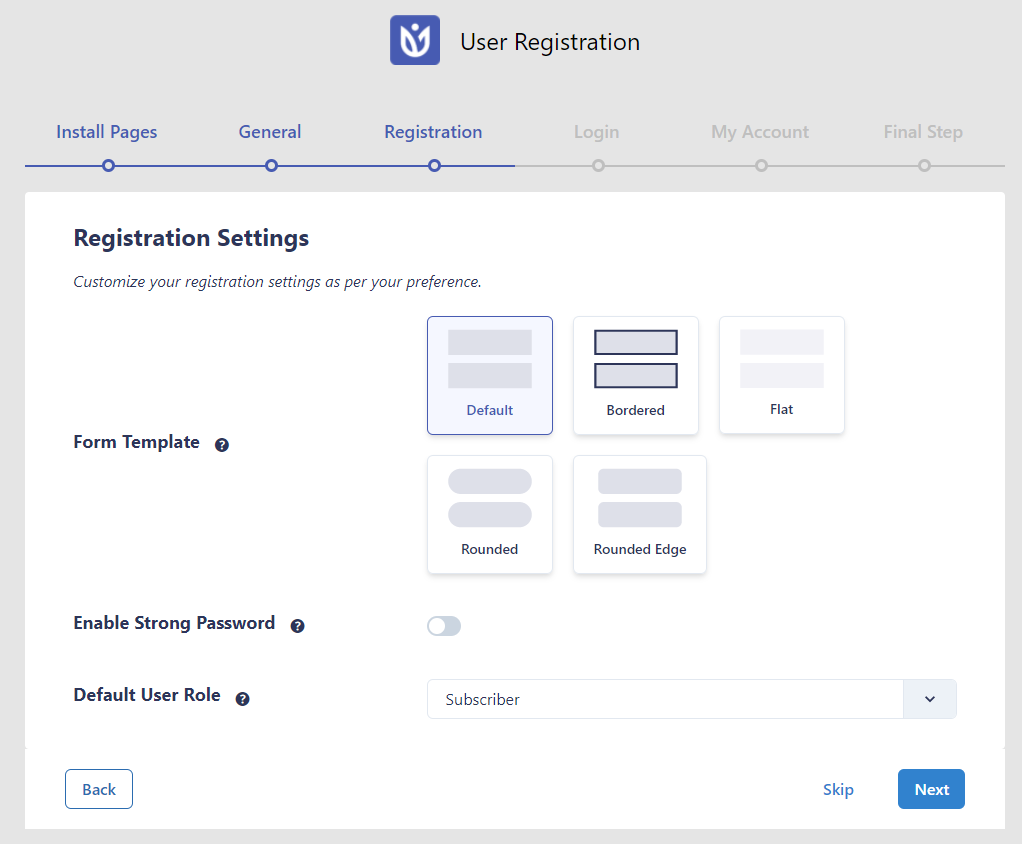
Customize basic registration settings from this tab. Or, skip it.
Login #

All the basic settings related to the login form can be set from this step. Or, you can skip this step.
My Account #

You can customize your My Account page’s basic detail in this step.
Final Step #
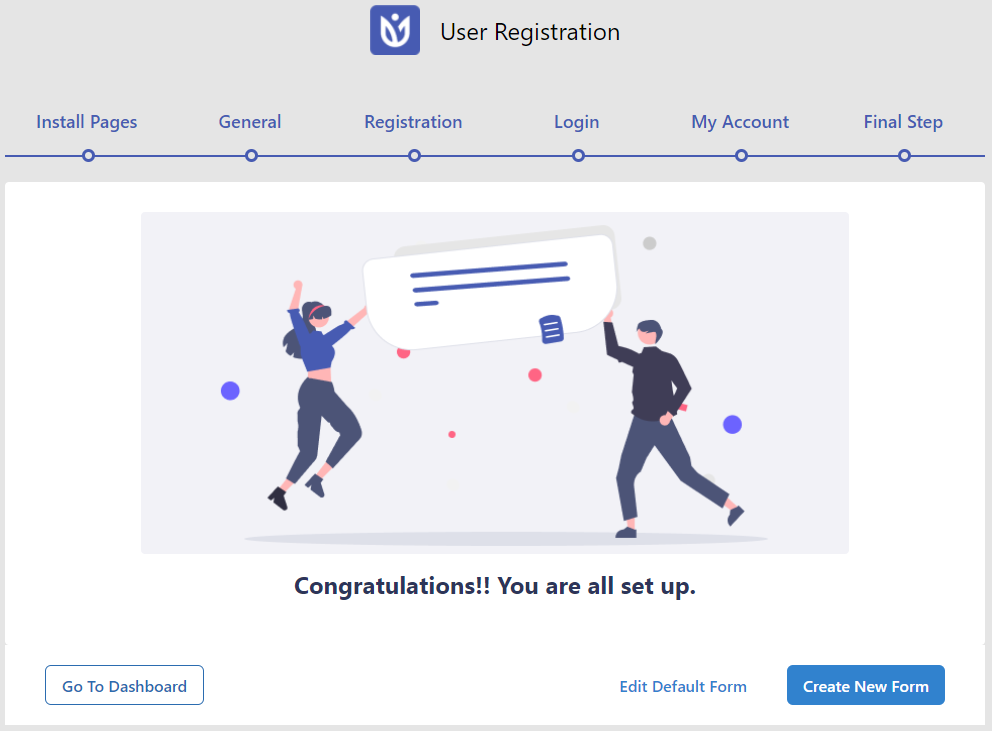
Finally, you are done with the basic settings of the plugin and now you can go on to create your first registration form by clicking on ‘Create New Form’.


