
MailPoet Integration
ProAutomatically sync new user registrations with MailPoet email lists, eliminating manual subscriber imports and streamlining your email marketing workflow.
Last updated on Jul 15, 2026
Would you like to automatically add new users to your MailPoet email lists when they register on your site? User Registration & Membership allows you to connect your registration forms directly to MailPoet, so every new signup becomes an email subscriber without manual imports. This tutorial will show you how to set up and configure the MailPoet integration.
Before getting started, make sure you've installed and activated the User Registration & Membership plugin on your WordPress site. Then, make sure you've installed and activated the MailPoet plugin and have at least one subscriber list created in MailPoet.
MailPoet Configuration
Go to WPDashboard > MailPoet and click on the Begin Setup button.
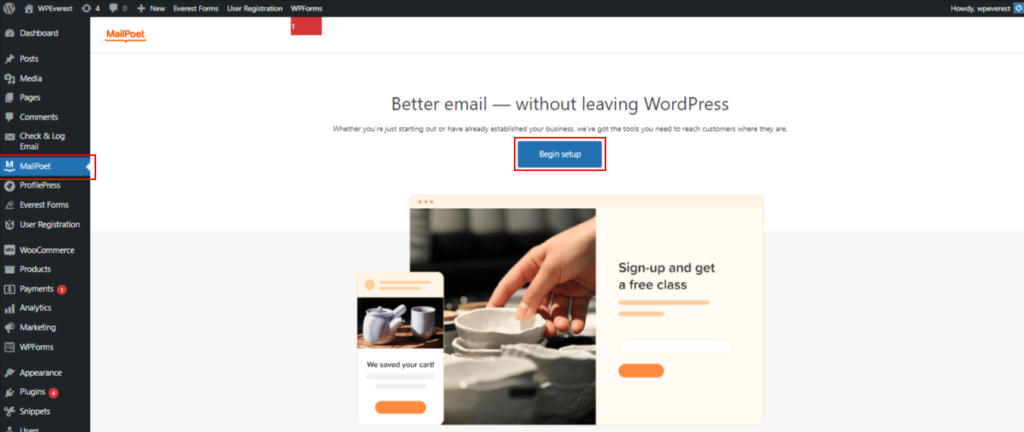
After you click on the Begin Setup button, you will be redirected to next page and tick mark the Confirm privacy and data settings as shown below.
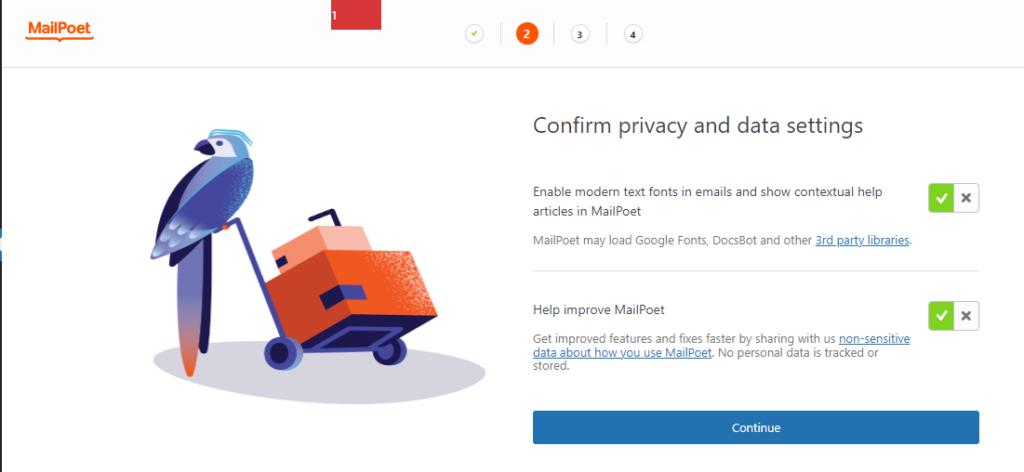
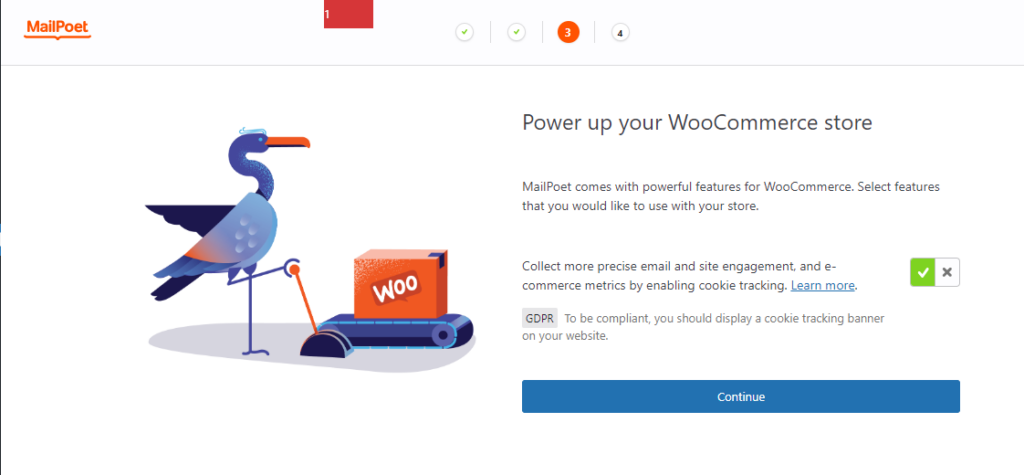
Click on Continue, tick mark if you want to power up your WooCommerce store, and click on Continue.
Click on the Connect MailPoet button.
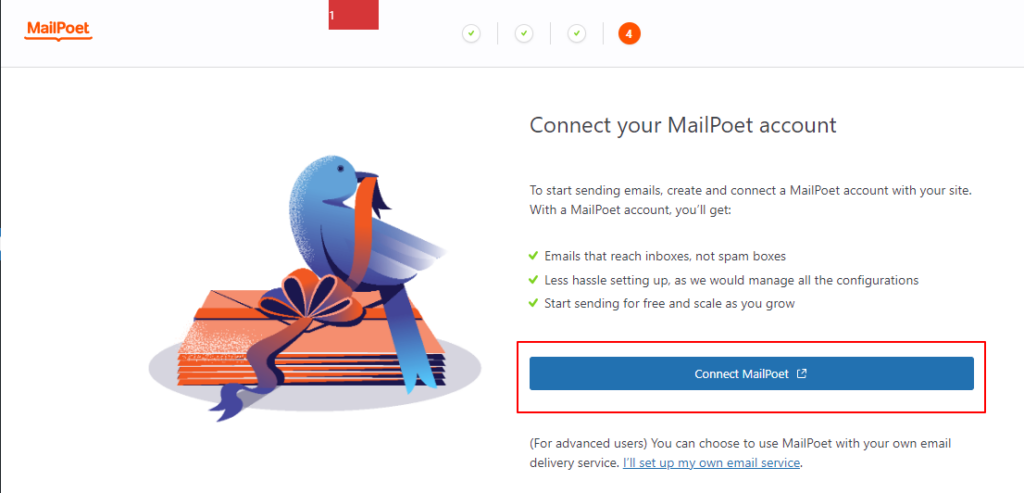
Now, you will be redirected to the MailPoet Account Page.
Once you’re logged in, you have to add a plan, provide the details of the website, and activate it.
You will see the below interface once you activate the plan.
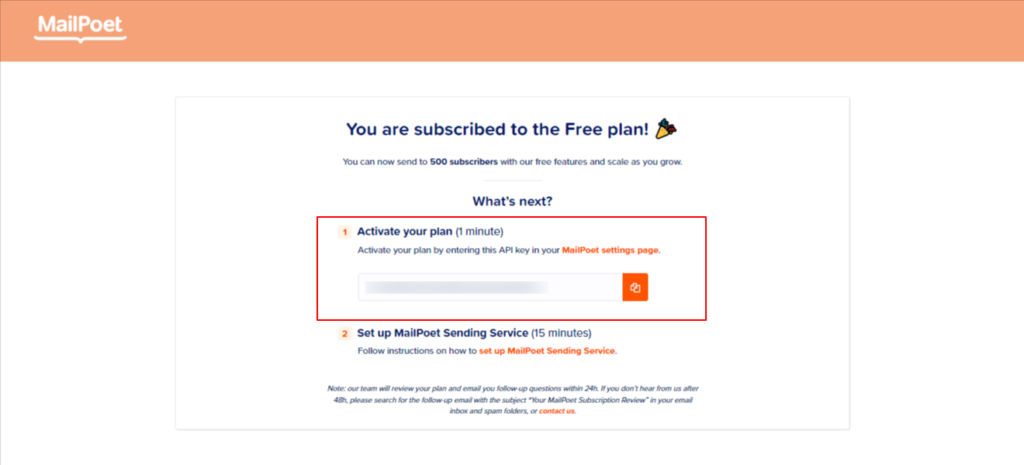
Copy this key to your clipboard and enter it to activate the MailPoet account.
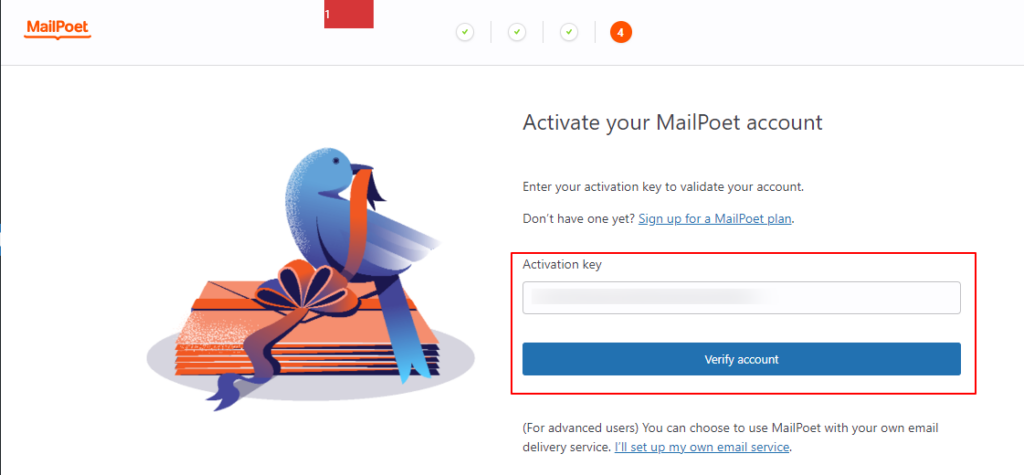
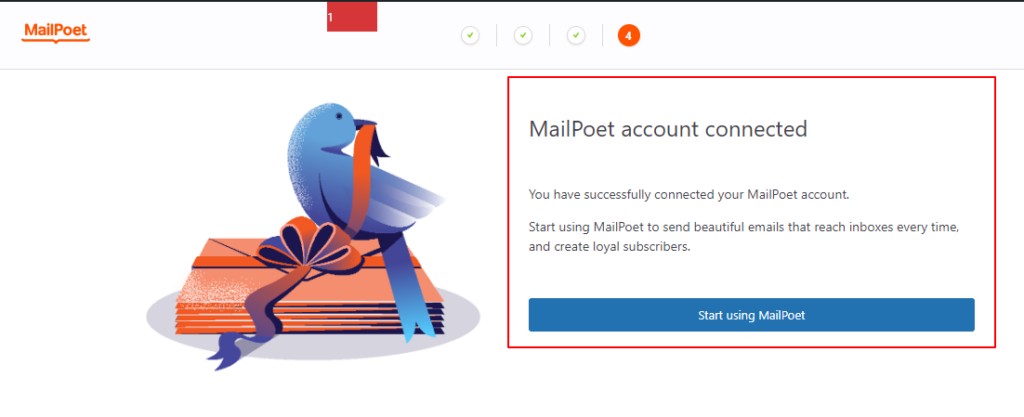
Once you have entered the activation key, now you will connected to the MailPoet as shown below.
Activating the MailPoet Module
To use MailPoet with User Registration & Membership, you'll first need to activate the integration module.
Go to User Registration & Membership → Addons in your WordPress dashboard. Here, you'll see a list of available modules and integrations. Locate the MailPoet addon and toggle the switch to activate it.
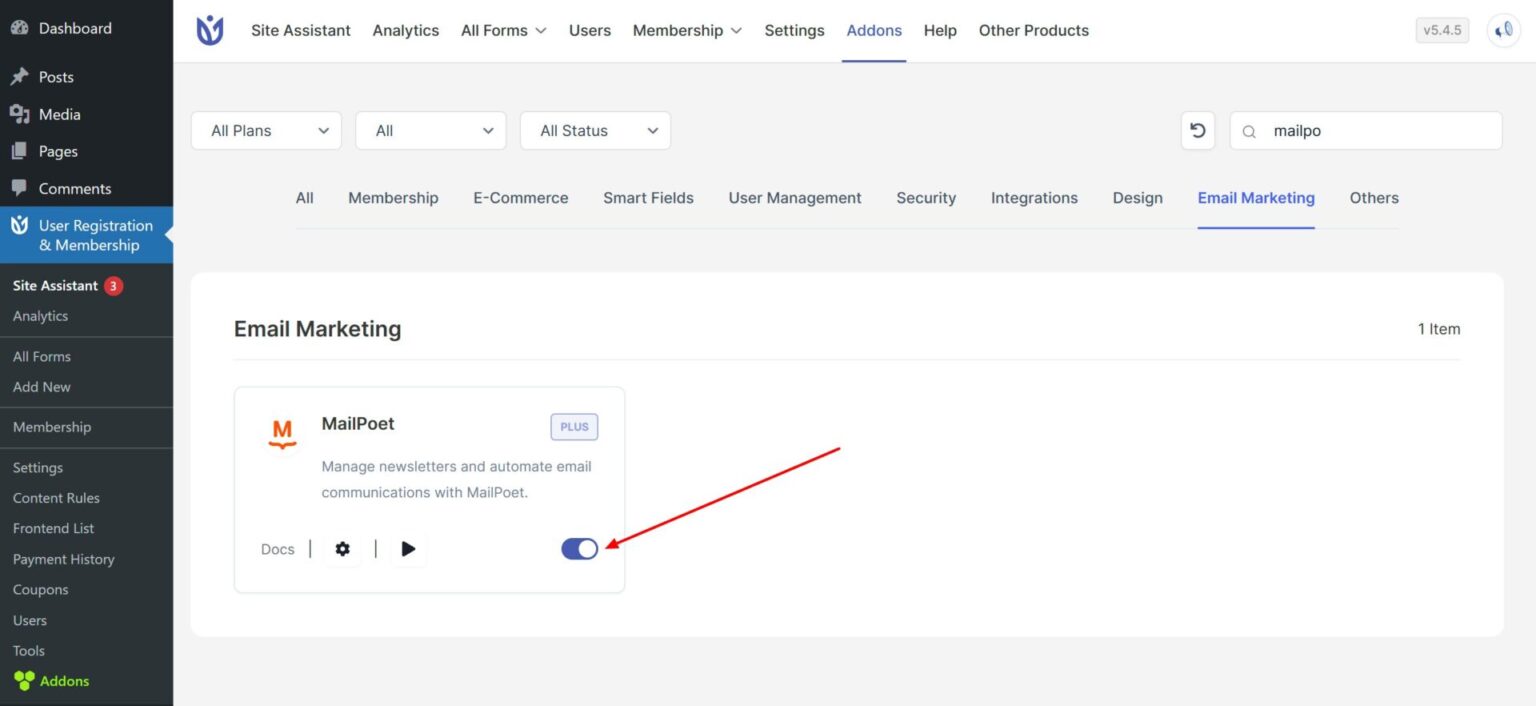
Once activated, the MailPoet integration settings will become available in your plugin configuration.
Connecting Your MailPoet Account
After activating the module, you need to connect User Registration & Membership to your MailPoet installation.
Navigate to User Registration & Membership → Settings → Integration → Email Marketing → MailPoet. You'll see a connection option labeled "Check to connect your MailPoet Account." Enable this option by checking the box, then click Save Changes.

Your User Registration & Membership plugin is now connected to MailPoet and ready to sync subscriber data.
Mapping Form Fields to MailPoet Lists
Now you'll configure which registration forms send data to MailPoet and which subscriber lists receive that data.
Go to User Registration & Membership → All Forms and click Edit on the registration form you want to connect to MailPoet. Navigate to Form Settings → Integration → MailPoet and click Add New Connection.
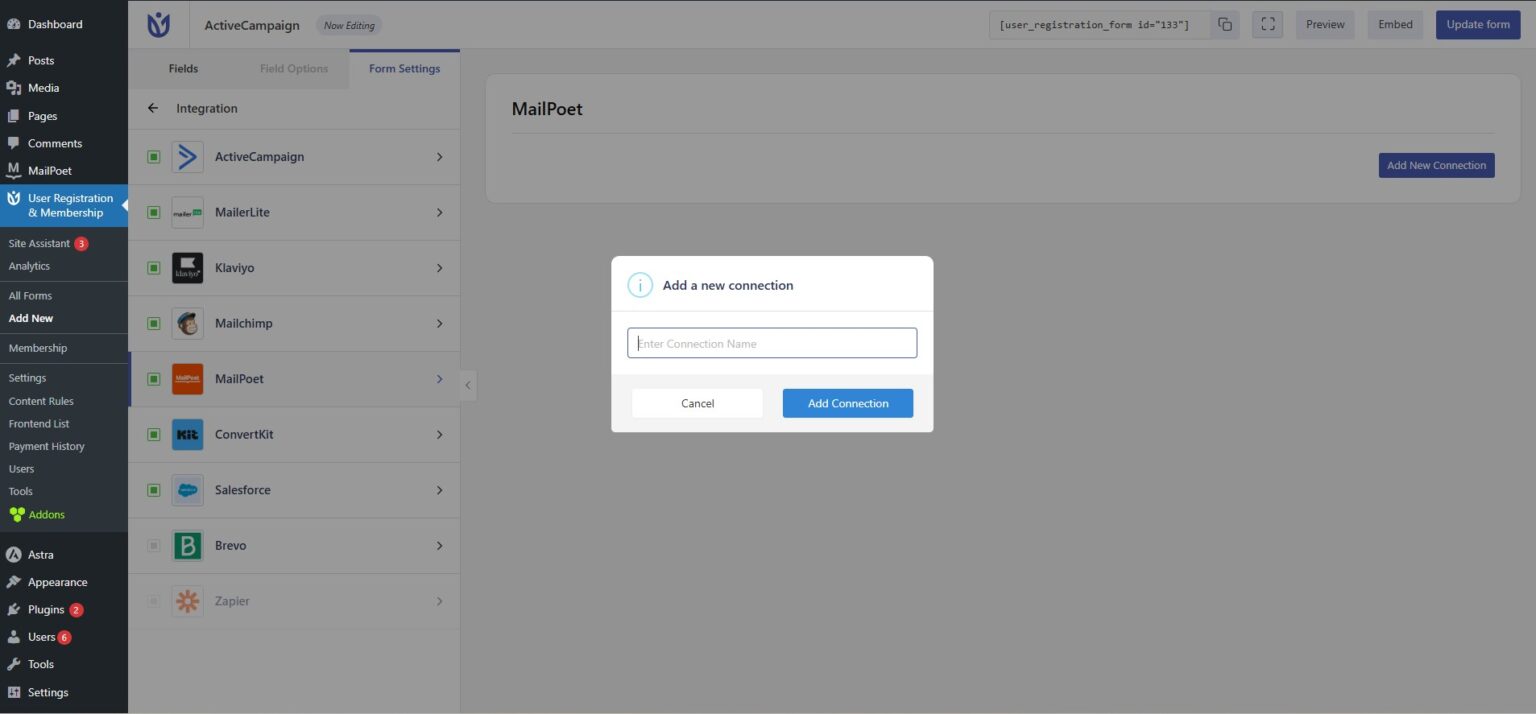
In the connection settings, you'll configure how form data flows to MailPoet:
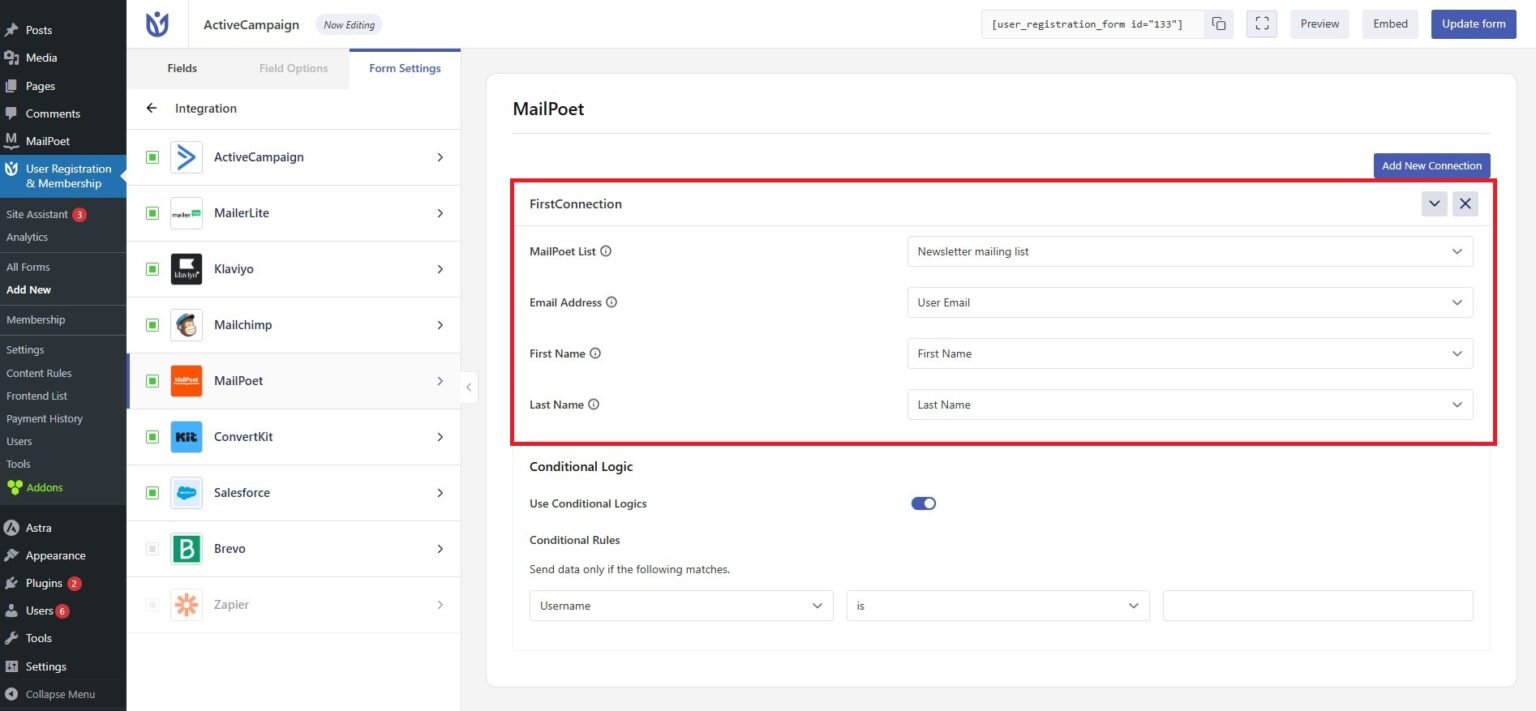
Select MailPoet List: Choose the subscriber list where new registrations should be added. This list must already exist in your MailPoet dashboard.
Email Address Field: Map the email field from your registration form to MailPoet. This field is mandatory — MailPoet requires an email address to create a subscriber.
First Name Field: Optionally map the first name field from your registration form to MailPoet's first name field. This helps personalize your email campaigns.
Last Name Field: Optionally map the last name field to MailPoet's last name field for additional personalization.
Once you've configured the field mappings, click Save to activate the connection.
Using Conditional Logic for Audience Segmentation
If you'd prefer to add users to different MailPoet lists based on their form responses, you can enable conditional logic.
In the same connection settings screen, enable the Use Conditional Logic option. This allows you to create rules that evaluate form field values in real-time during registration.
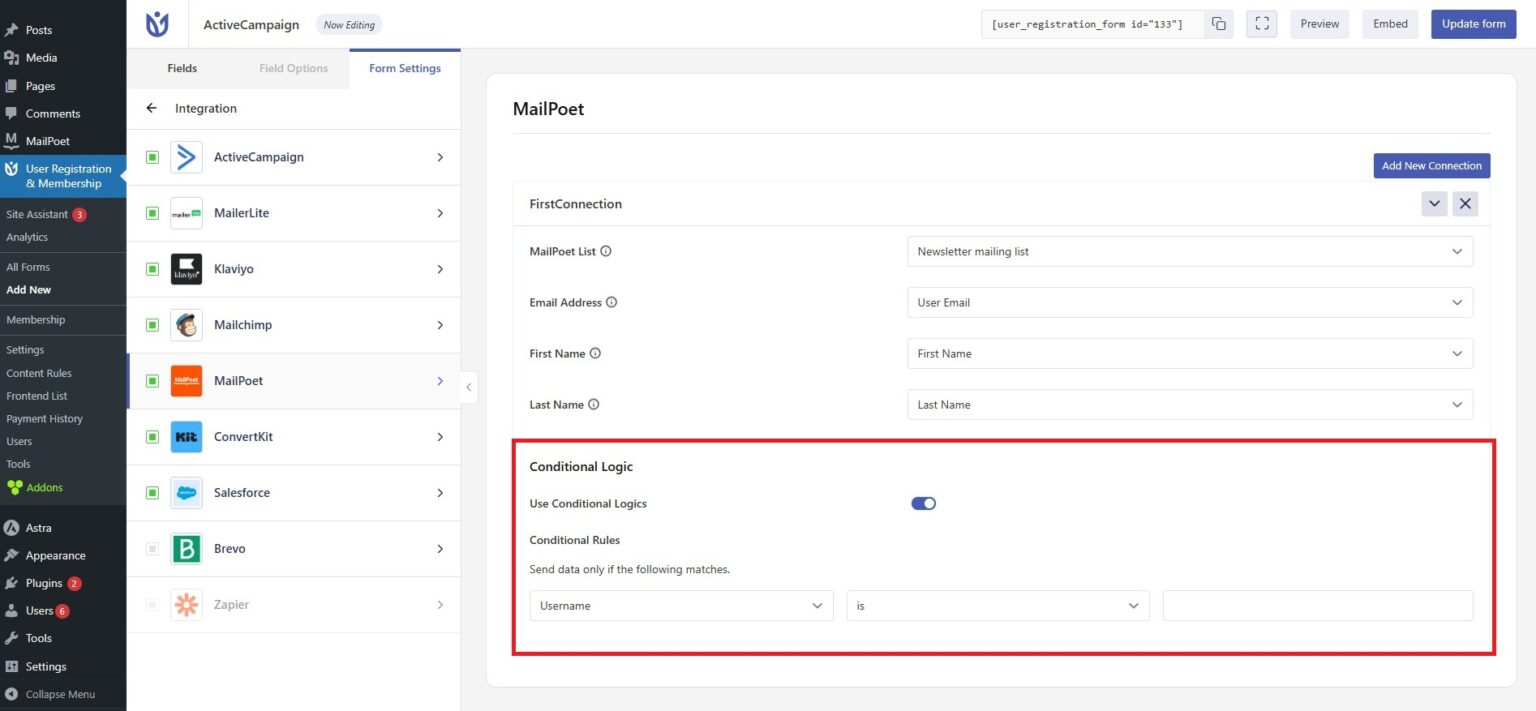
For example, you could send users who select "Newsletter" in a checkbox field to one list, while users who select "Product Updates" go to a different list. Conditional logic enables sophisticated audience segmentation without requiring users to manually choose their subscriber preferences.
Conditional logic evaluates form values as users submit the registration form, so your rules must be based on fields that exist in your form.
Testing Your Integration
After configuring the MailPoet connection, test it by submitting a registration through your form.
Create a test user account using your registration form. After submission, log into your MailPoet dashboard and navigate to your subscriber lists. The new user should appear in the list you selected during configuration, with their email address and any mapped fields (first name, last name) populated correctly.
If the subscriber doesn't appear, check that:
The MailPoet module is activated in User Registration & Membership → Addons
The connection is enabled in Settings → Integration → MailPoet
The correct MailPoet list is selected in your form's integration settings
The email field mapping is configured (this is required)