
Brevo
ProLearn how to automatically sync new member registrations with your Brevo email lists using the User Registration & Membership plugin's Brevo addon integration.
Last updated on Jul 15, 2026
Would you like to automatically add new members to your Brevo email lists when they register on your site? User Registration & Membership allows you to sync registration data directly with Brevo (formerly Sendinblue), so you can build your email marketing lists and send targeted campaigns without manual data entry. This tutorial will show you how to connect your Brevo account and map form fields to your email lists.
Before getting started, make sure you've installed and activated the User Registration & Membership Pro plugin on your WordPress site. Then, make sure you've installed and activated the Brevo addon.
Activating the Brevo Addon
To connect with Brevo, you'll first need to activate the Brevo addon. From your WordPress dashboard, go to User Registration & Membership → Addons. Here, you'll see a list of all available addons for your plan.
Locate the Brevo addon in the list and toggle the switch to Activate. Once activated, the Brevo integration settings will become available in your plugin settings.
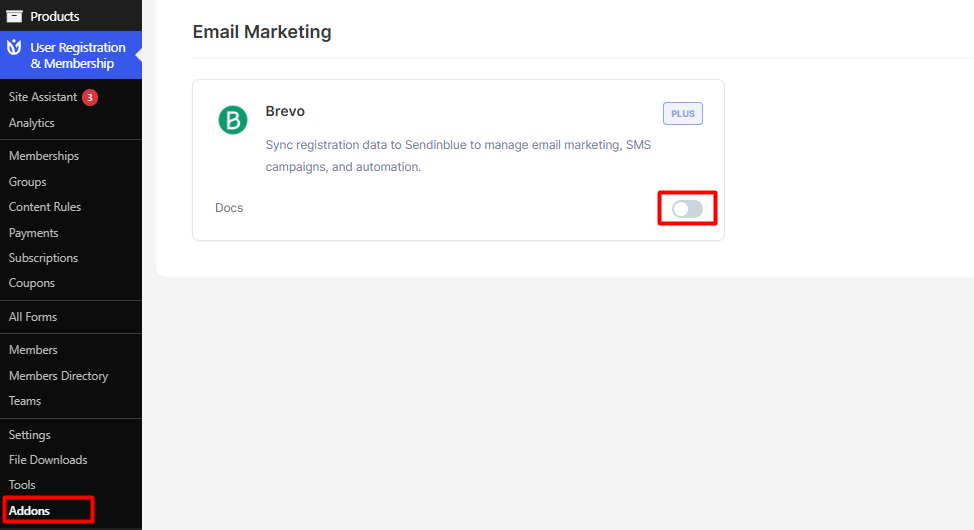
To set up the User Registration Brevo integration on your site, you will have to go to the following location.
User Registration & Membership > Settings > Integrations > Brevo.
As you can see, you will need the Brevo API key to complete this integration. Let us look at how to generate the API key.
Generating a Brevo API key
Click on your name at the top-right side of the screen.
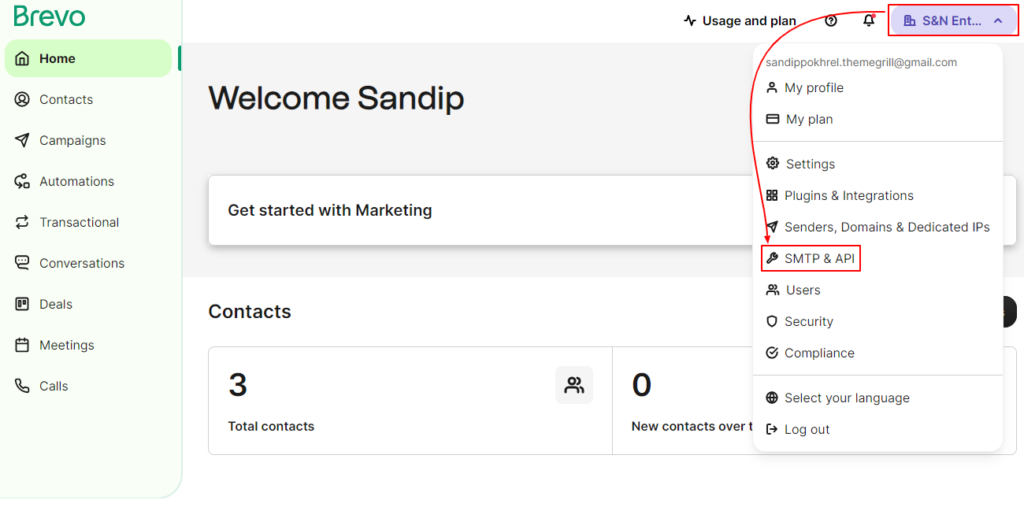
Click SMTP & API
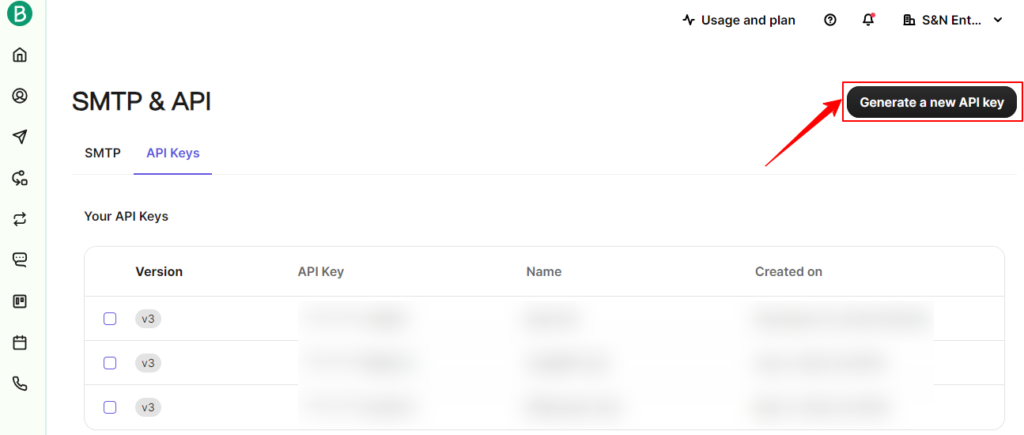
Under the API keys tab, click Generate a new API key.
Name your API key.
Click Generate.
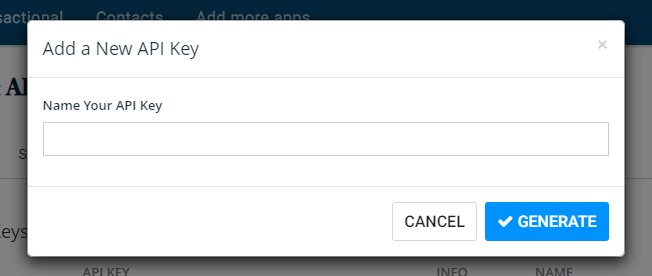
Copy your API key and save it somewhere safe.
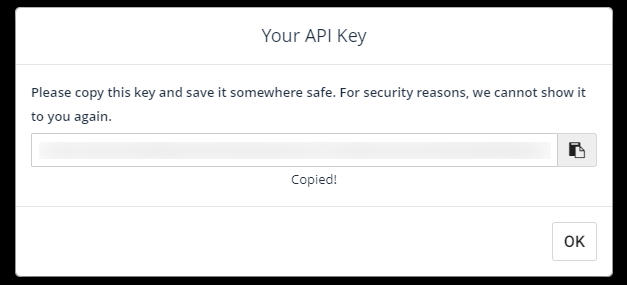
Your API v3 key is only visible during this time.
Integrating Brevo with User Registration & Membership
Once you have generated and copied the API key, go to
User Registration > Settings > Integration > Brevo(ex Sendinblue)
Now, enter the API key and give a name to the connection and hit Connect.
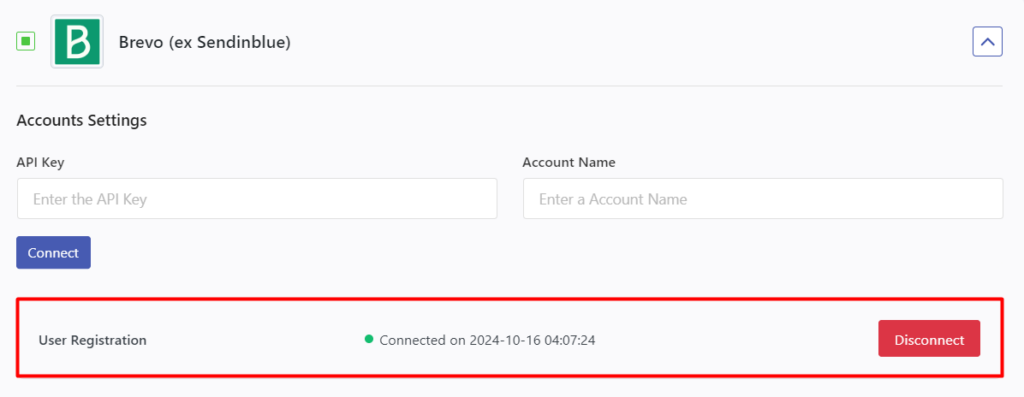
Once the connection is successful, you will see the above set up. You can click on the Disconnect button to remove the connection.
You can add multiple Brevo connections.
Connecting Registration Forms to Brevo
After successfully setting up the Brevo API connection, now you can send user data to your Brevo list via the User Registration registration forms.
Go to User Registration > All Forms.
Choose to edit the desired form.
Go to Form Settings > Integrations > Brevo.
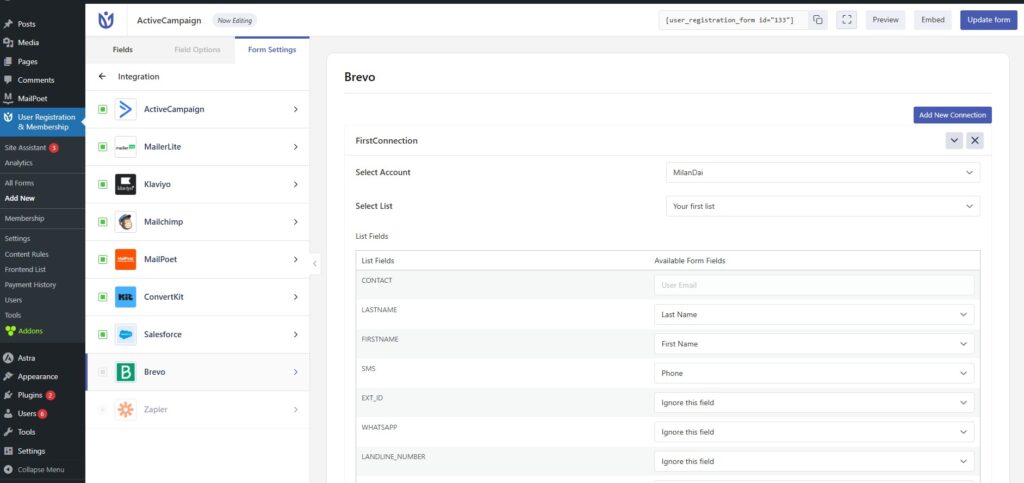
Now, choose the Brevo account(if multiple accounts are connected), select the desired list and then map the form fields to their respective fields to send the user data.
Click on Update Form and you are good to go.
Now, whenever a user registers via this form, their data are sent to the selected Brevo list.
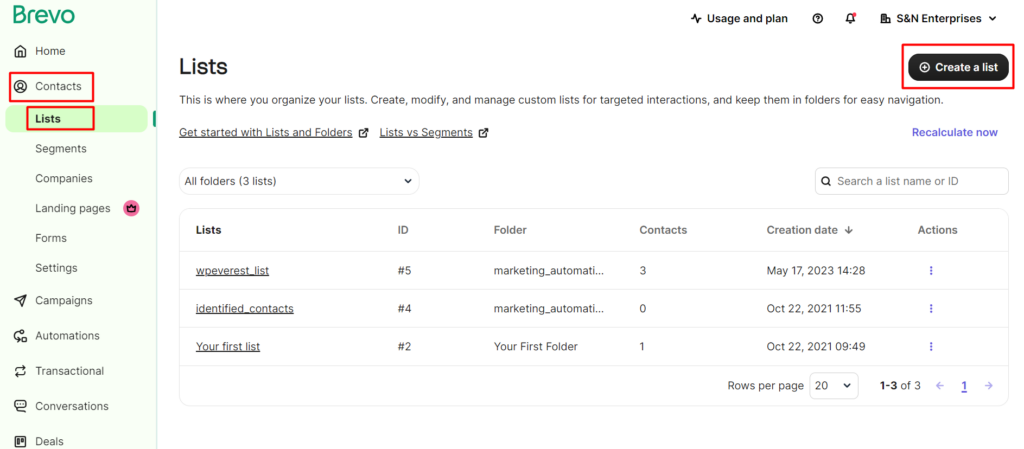
To create a Bevo list, log in to your Brevo account, go to Contacts > Lists and click on Create a List.
Using Double Opt-in
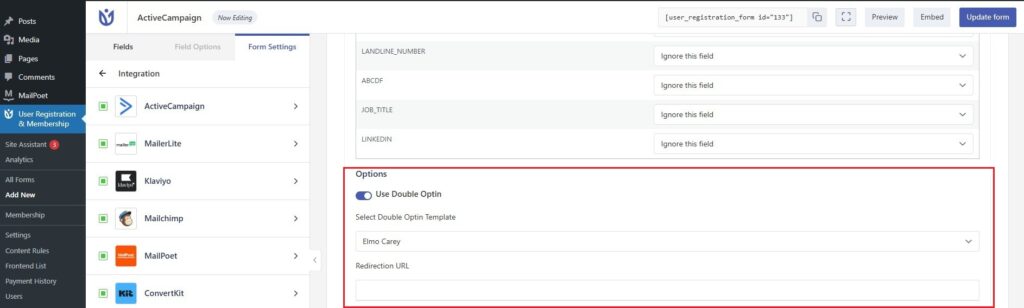
You can use the Double Opt-in option to send the data by enabling it from the connection settings in each individual form's connection. You will need to set up the following attributes for this.
Double Optin Template: Select the desired template created at your Brevo account for the Double Optin.
Redirection URL: Set a redirection URL for the users to be redirected if chosen the Double Optin method.
Using Conditional Logic
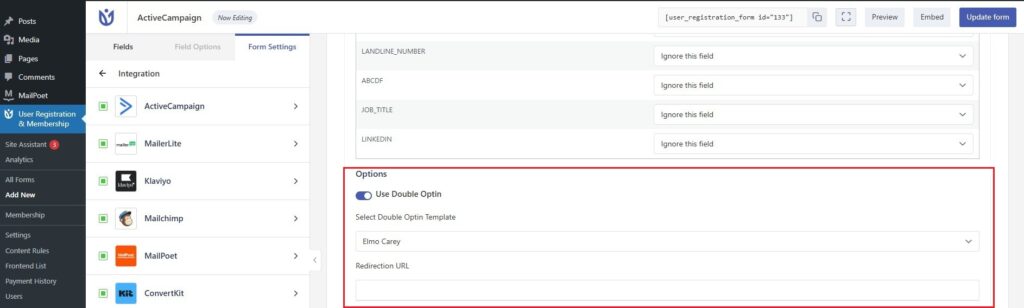
You can use conditional logic while sending the data to the Brevo list. For this, enable the 'Use Conditional Logic' option on the 'Connection' settings for each individual form