
Date Field
Configure date fields in registration forms with custom formatting, validation ranges, and localization options for WordPress user registration.
Last updated on Jul 17, 2026
Do you want to add a date field to your registration form with custom formatting, date ranges, or localization? User Registration & Membership allows you to configure advanced date field settings to control how dates are displayed, validated, and selected by users. This tutorial will show you how to set up these options.
Before getting started, make sure you've installed and activated the User Registration & Membership plugin on your WordPress site.
Adding a Date Field to Your Form
To configure advanced date field options, you first need to add a date field to your registration form.
Go to User Registration & Membership > All Forms > Registration Forms and select the form you want to edit. In the form builder, locate the Date field in the Extra Fields section of the left sidebar. Drag and drop the Date field into your form where you want it to appear.
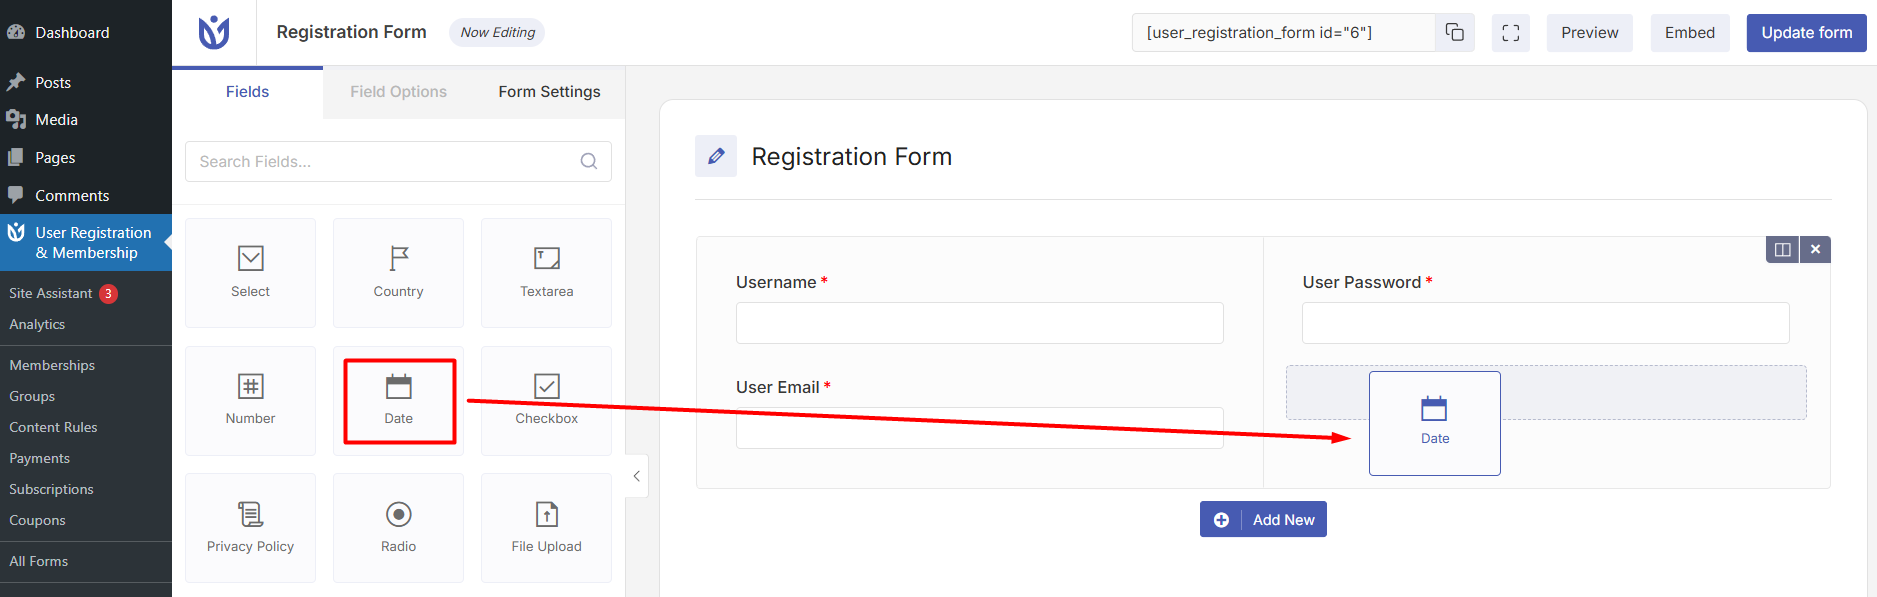
Once the field is added, click on it to access the Field Options panel on the left side of the screen.
Configuring Date Format
The date format controls how the date is displayed on the frontend when users view or fill out your form.
In the Field Options panel, locate the Formats dropdown. Select your desired date format from the available options. Common formats include MM/DD/YYYY, DD/MM/YYYY, and YYYY-MM-DD.
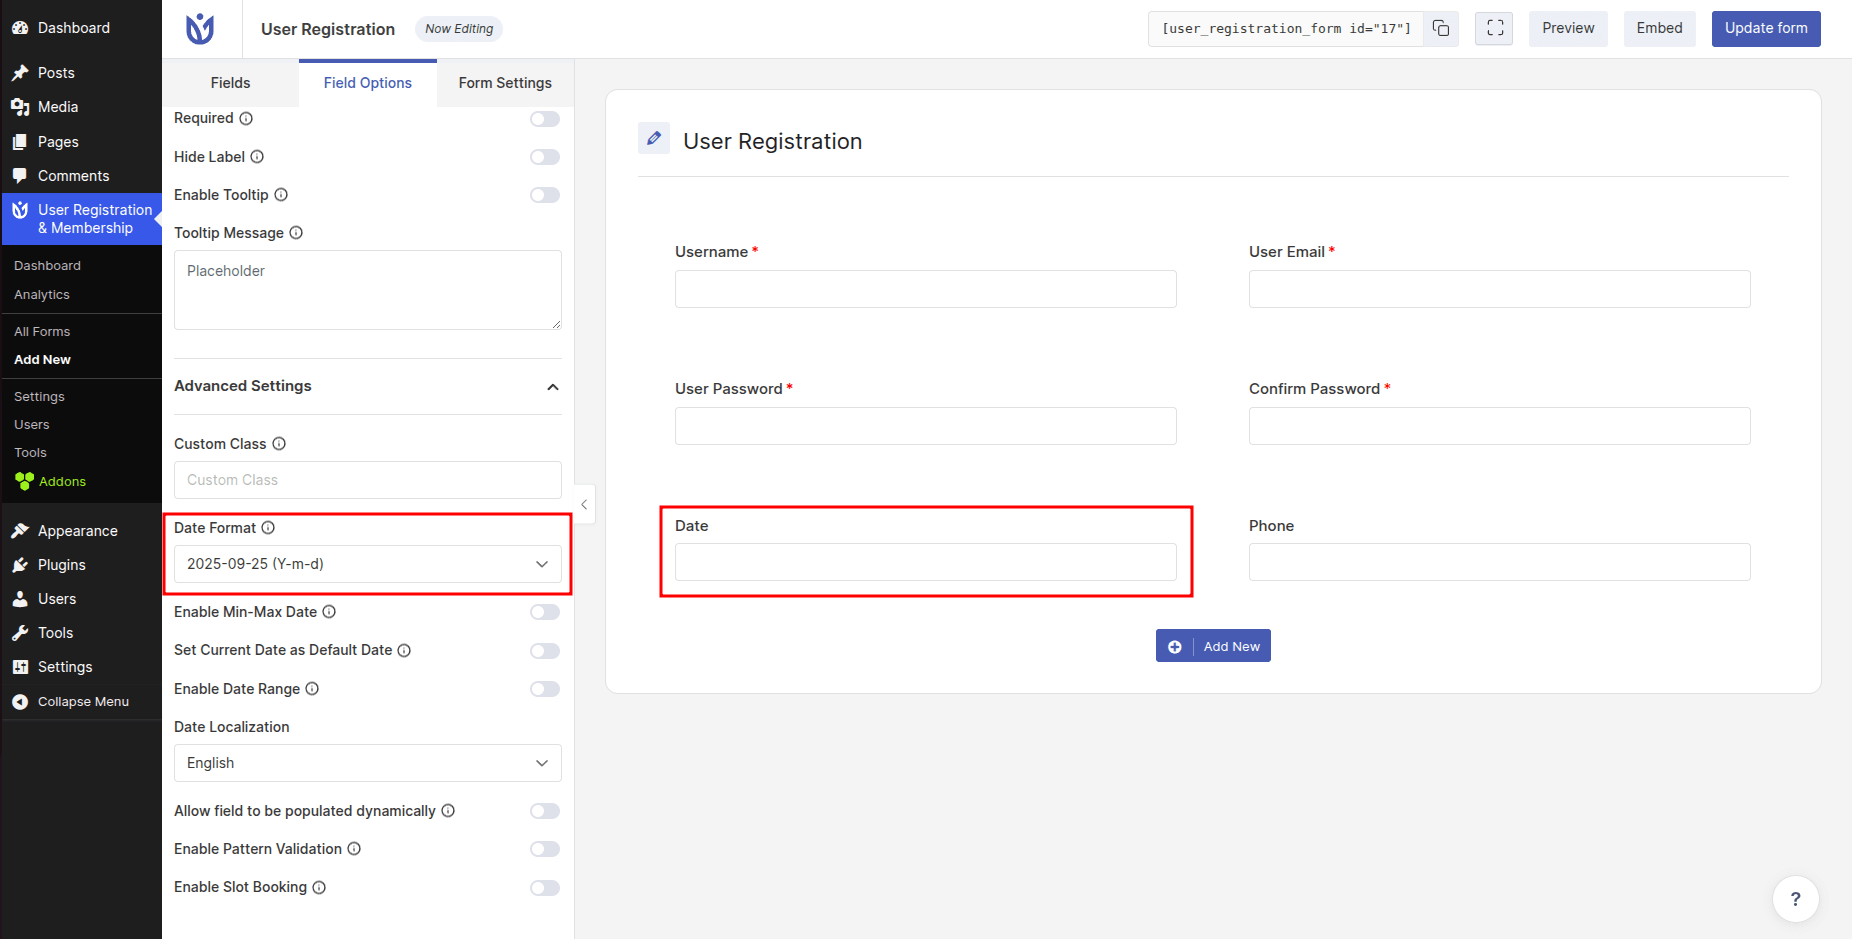
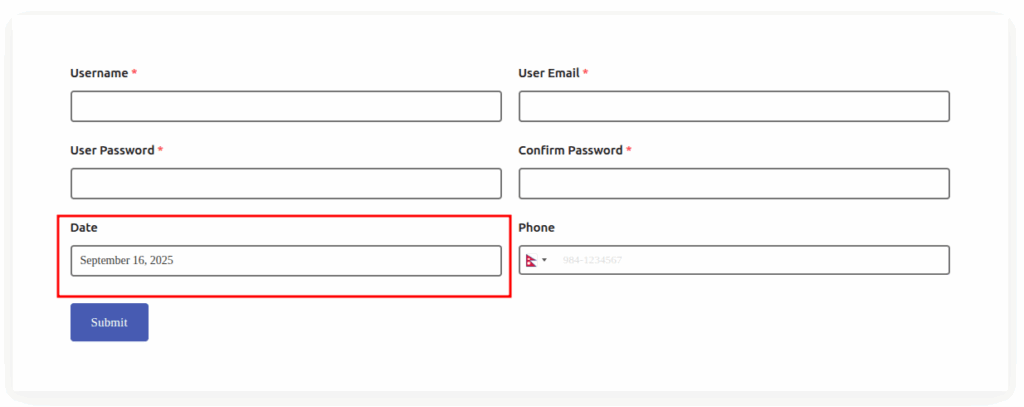
The format you choose will determine how users see and enter dates in your registration form.
Setting Minimum and Maximum Dates
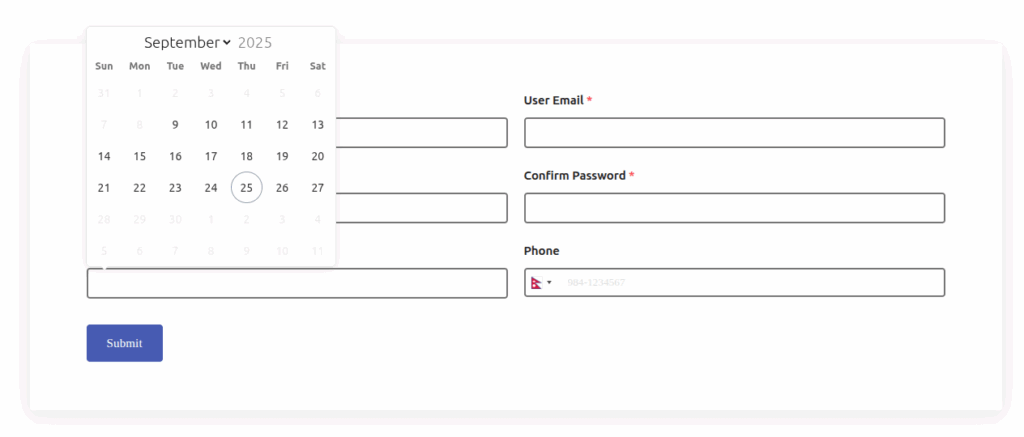
If you need to restrict the date range users can select—for example, limiting registration to future dates only or preventing selection of dates too far in the past—you can enable the Min-Max Date option.
In the Field Options panel, toggle on Enable Min-Max Date. Once enabled, you'll see fields to set both a minimum date and a maximum date. Enter the earliest and latest dates users should be able to select.
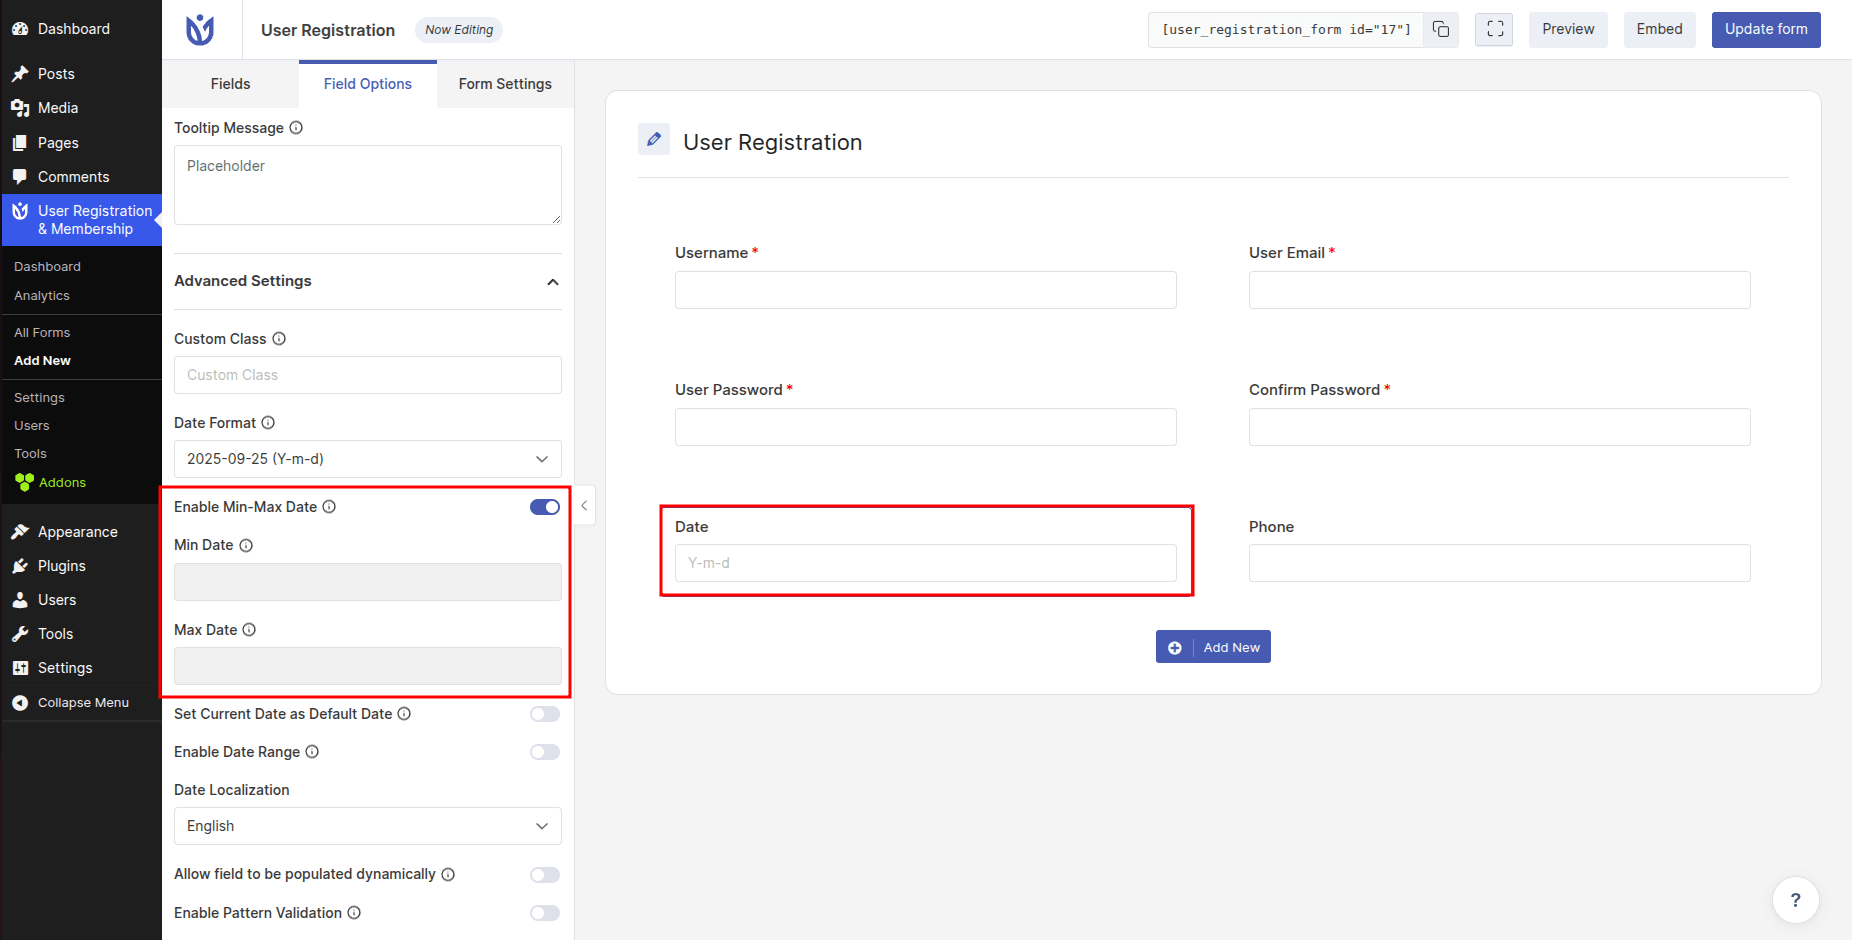
This is useful for event registrations, appointment bookings, or any scenario where dates need to fall within a specific range.
Setting Current Date as Default
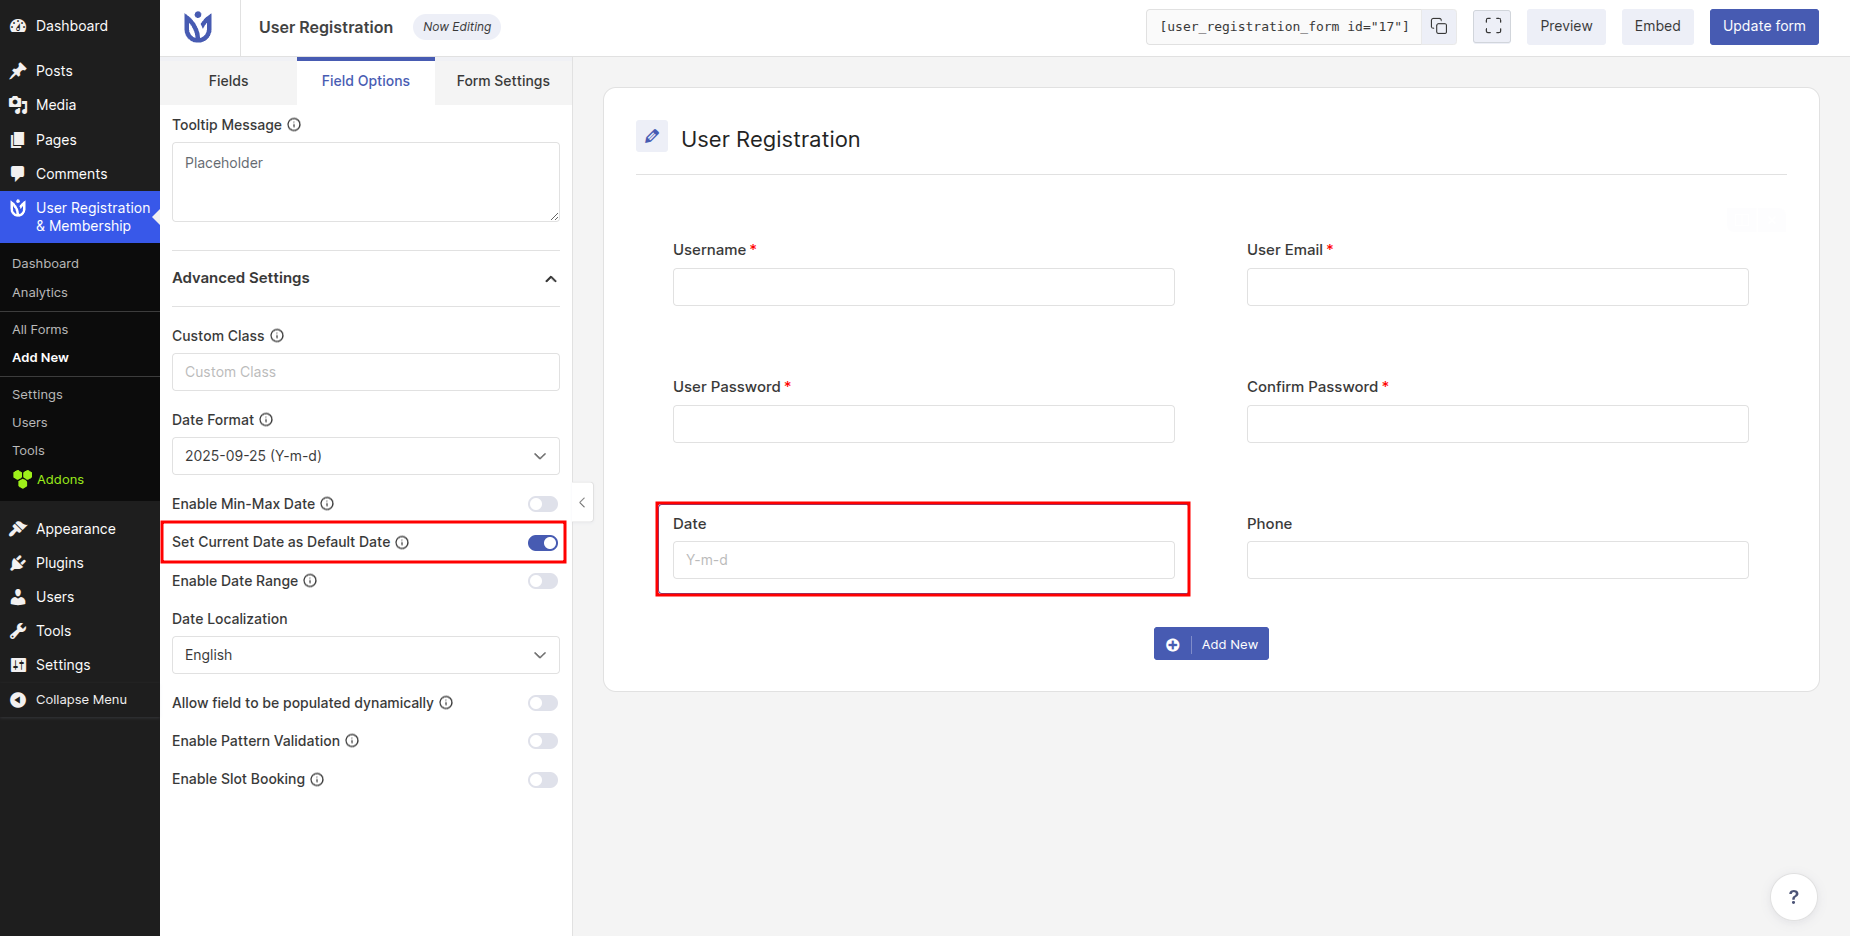
To pre-populate the date field with today's date when the form loads, enable the Set Current Date as the Default Date option in the Field Options panel.
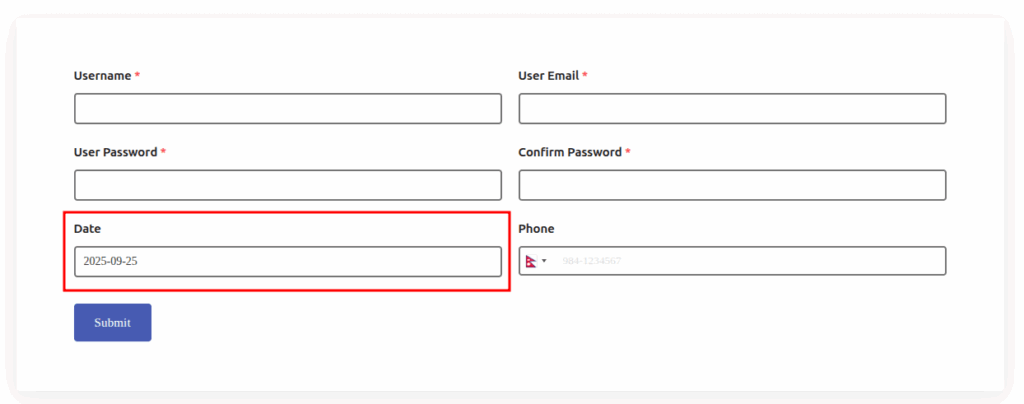
When this option is enabled, the date field will automatically display the current date, saving users time if they're registering for something happening today or need to reference today's date.
Frontend View
Enabling Date Range Selection
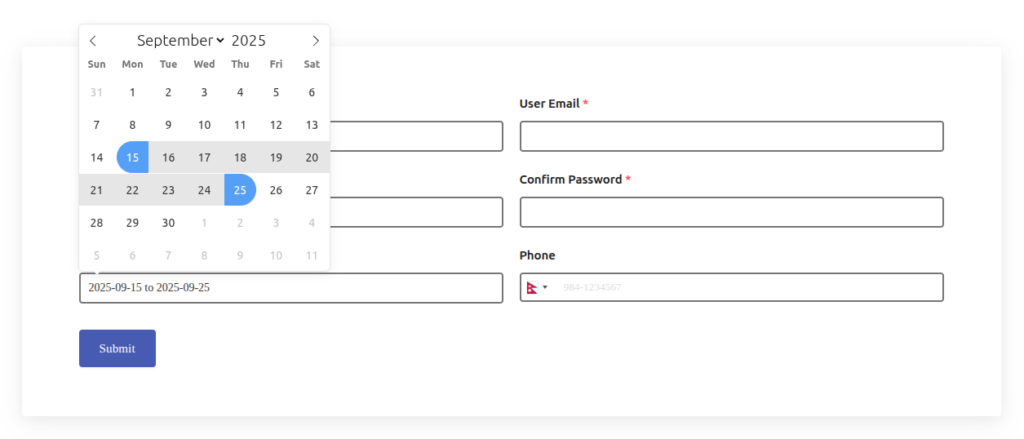
If you need users to select a range of dates rather than a single date—for example, for vacation requests or multi-day event registrations—you can enable the Date Range option.
In the Field Options panel, toggle on Enable Date Range. This will allow users to select both a start date and an end date using a calendar interface.
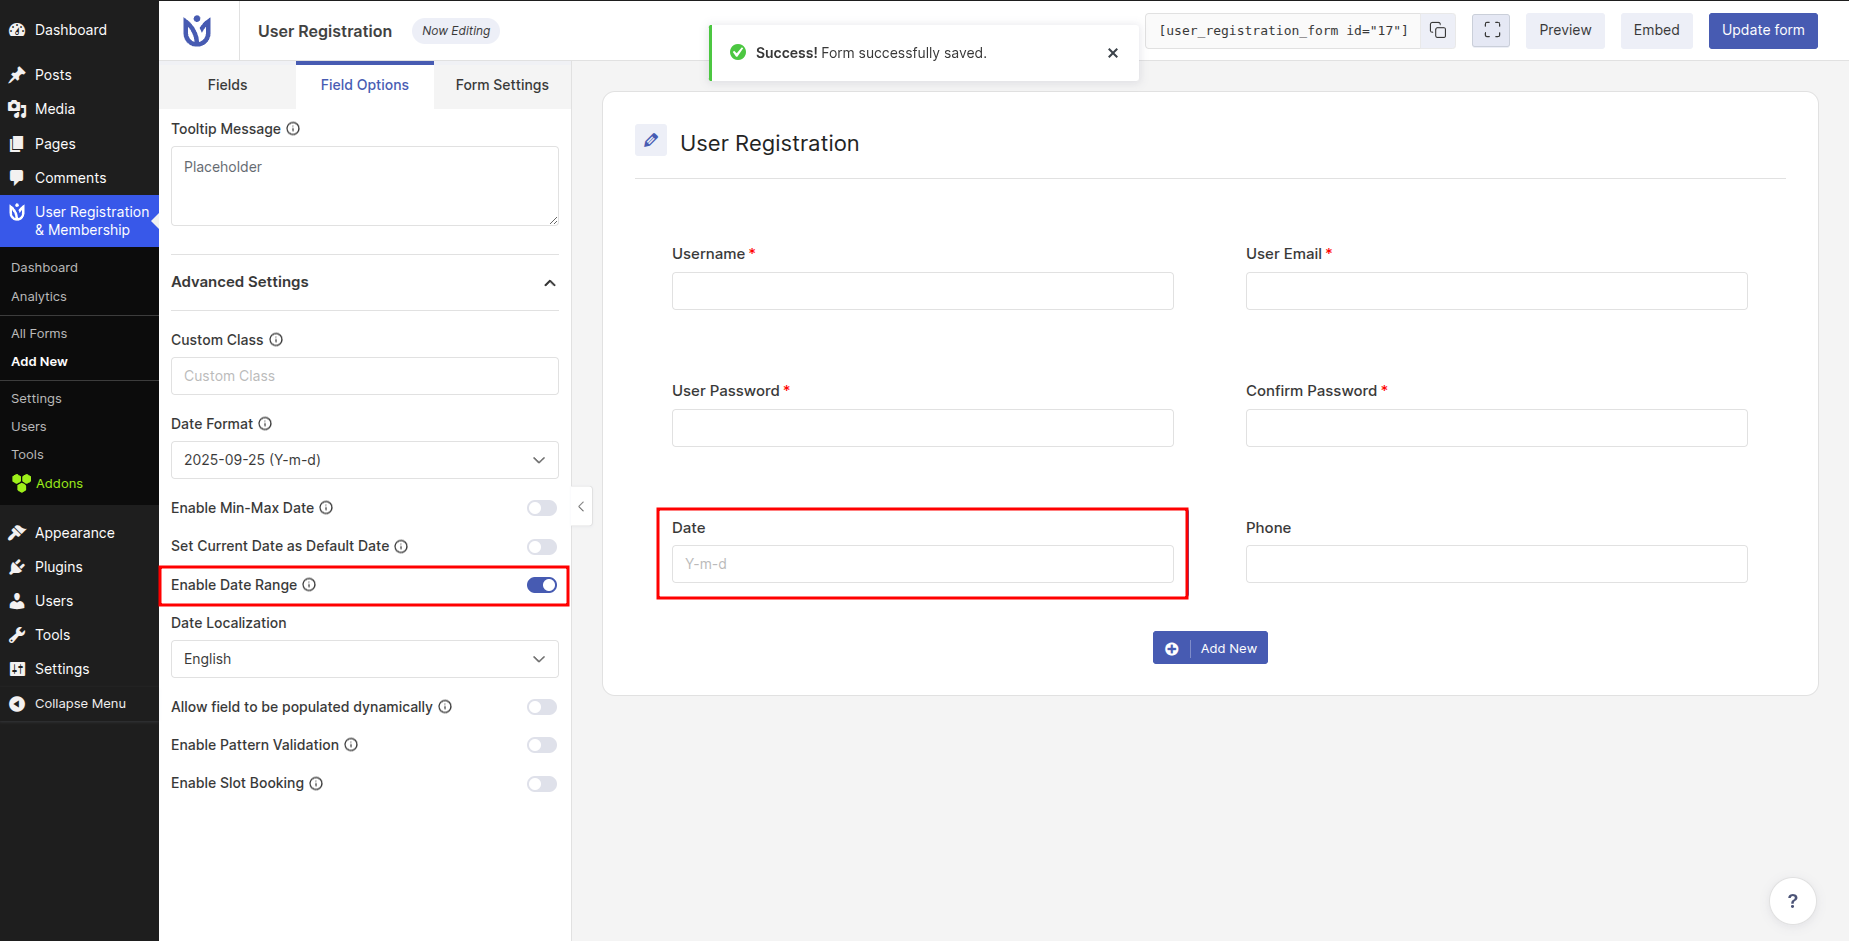
Users will see a calendar where they can click to select their date range, making it easy to specify periods spanning multiple days.
Configuring Date Localization
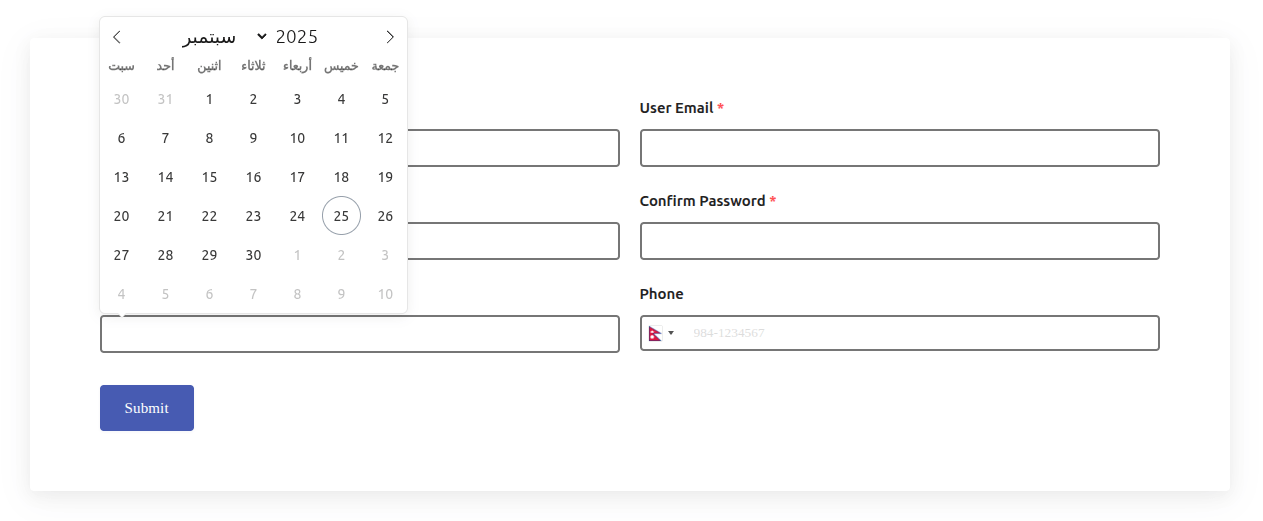
Date localization allows you to display the date field in a format specific to different countries and languages, making your form more accessible to international users.
In the Field Options panel, locate the Date Localization dropdown. Select your country or language from the available options. For example, selecting Arabic will format the date field according to Arabic conventions.
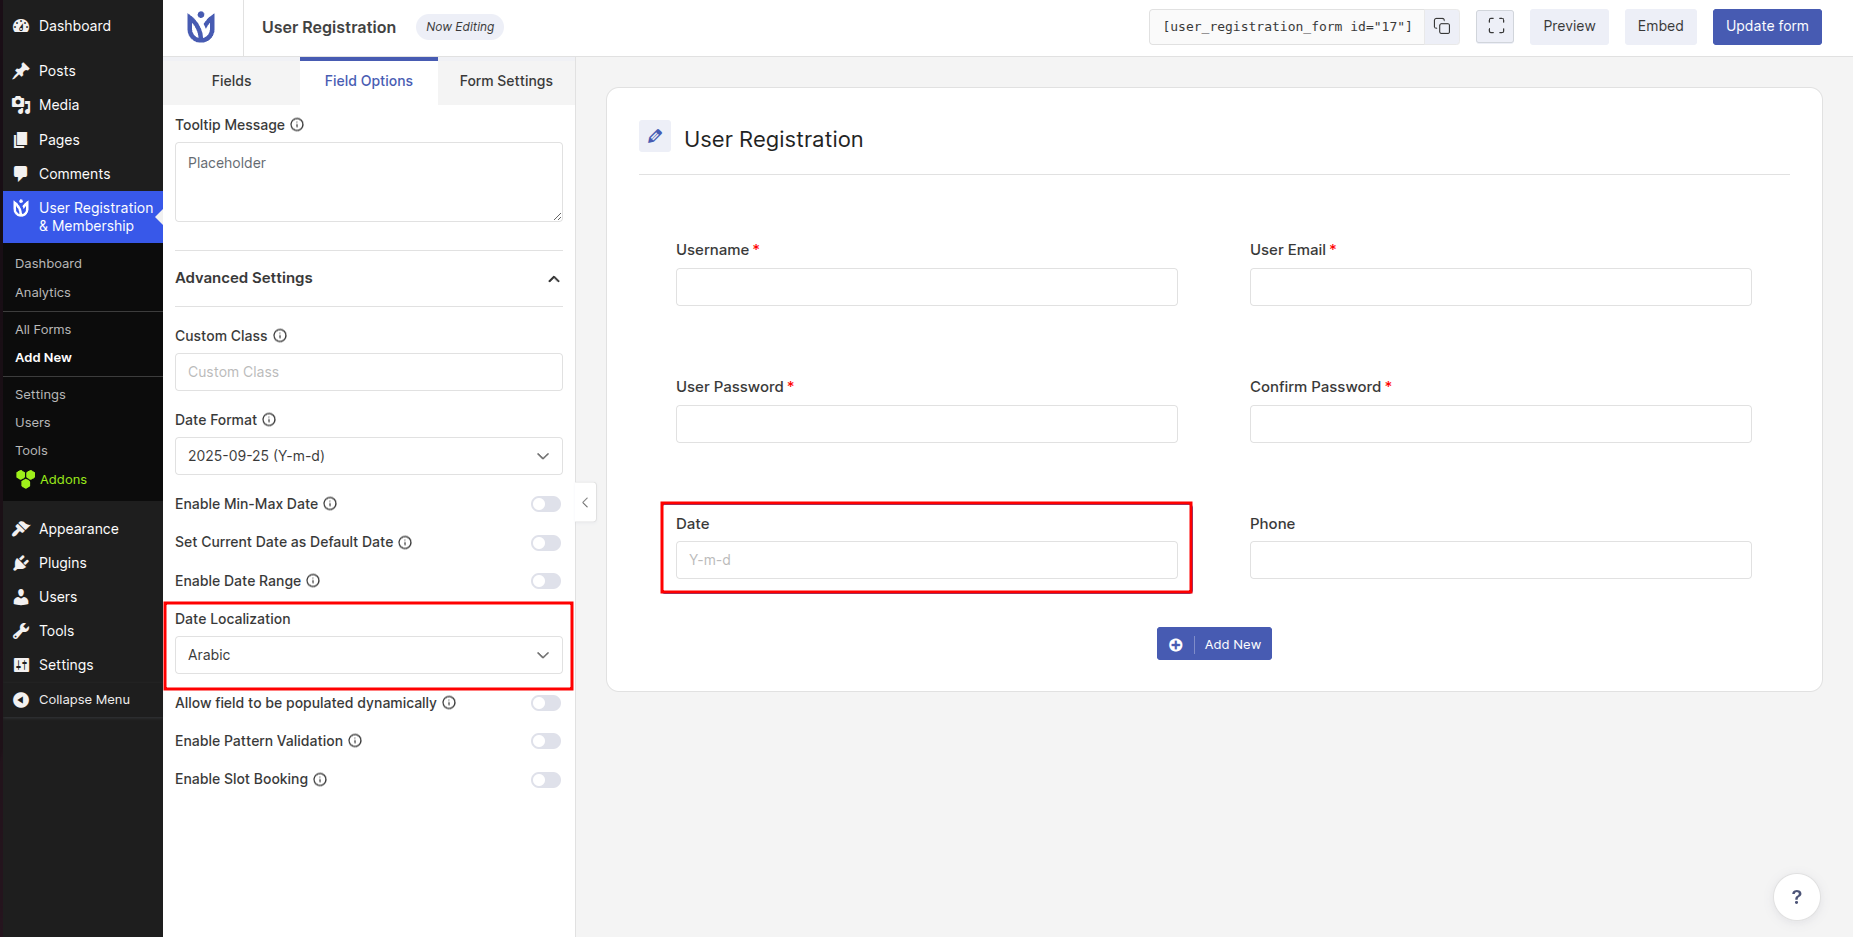
The date field will now display in the format appropriate for the selected locale, improving the user experience for visitors from different regions.
Enabling Slot Booking
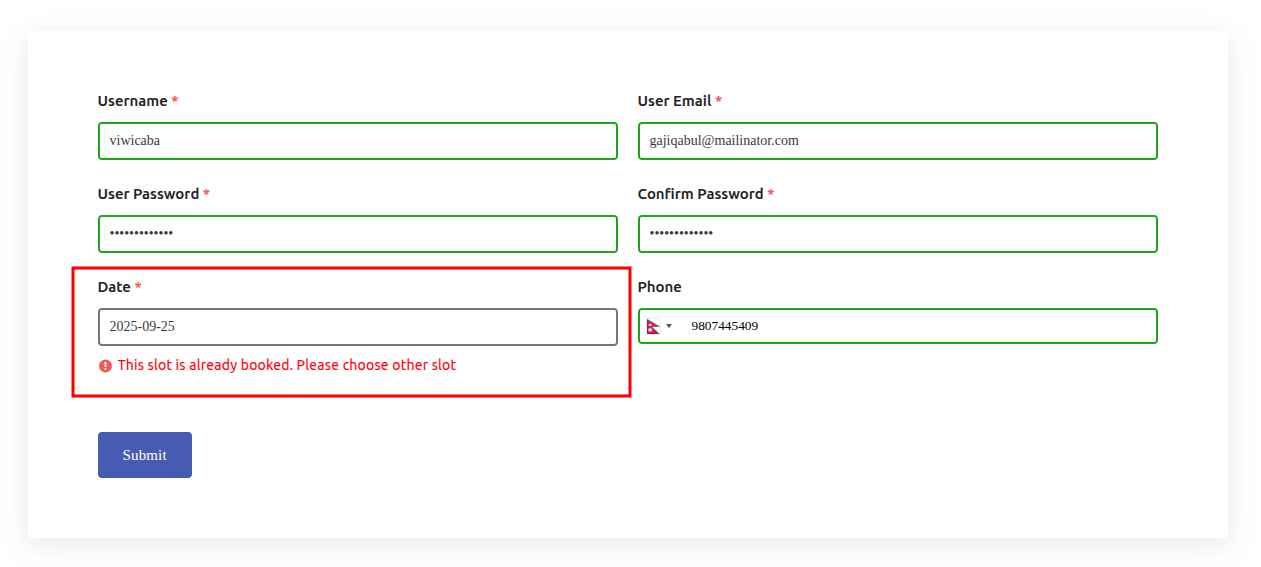
If you're using the date field for appointment scheduling or event registration where each date can only be selected once, you can enable the Slot Booking feature.
In the Advanced Settings section of the Field Options panel, toggle on Slot Booking. This will automatically disable dates that have already been selected by other users, preventing double-booking.
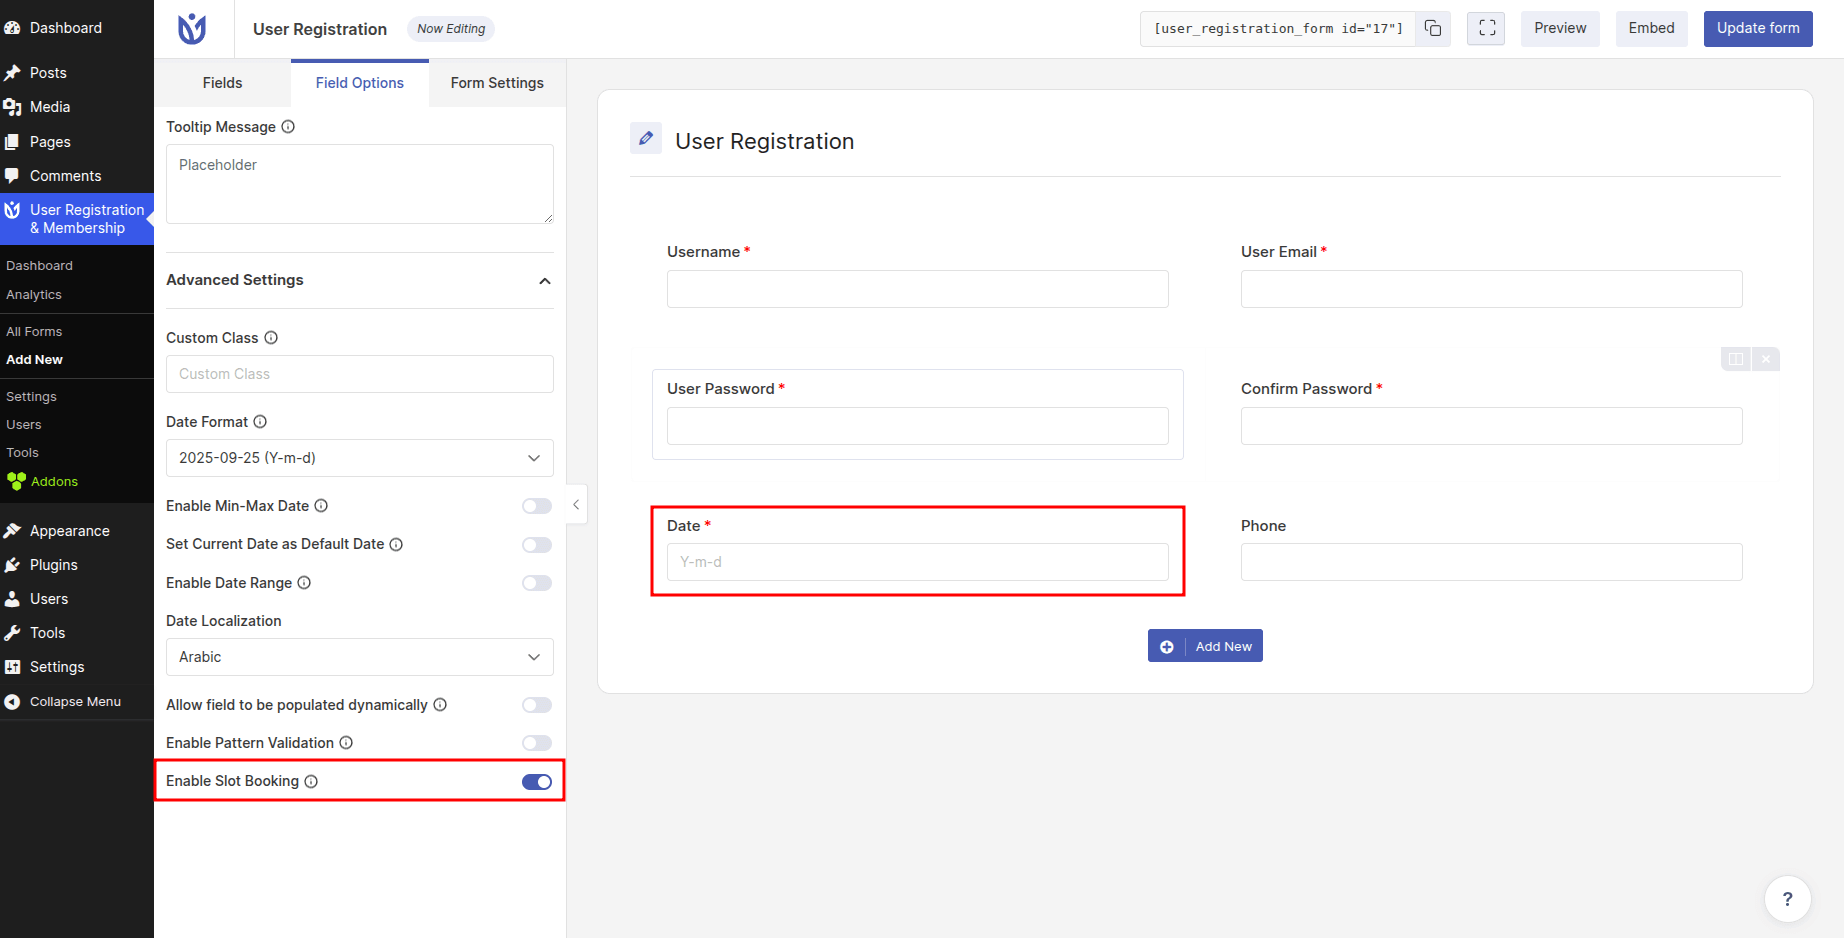
This is particularly useful for appointment systems, limited-capacity events, or any scenario where each date should only be available to one user.
Saving Your Changes
After configuring all your desired date field options, click the Update Form button in the top right corner to save your changes.