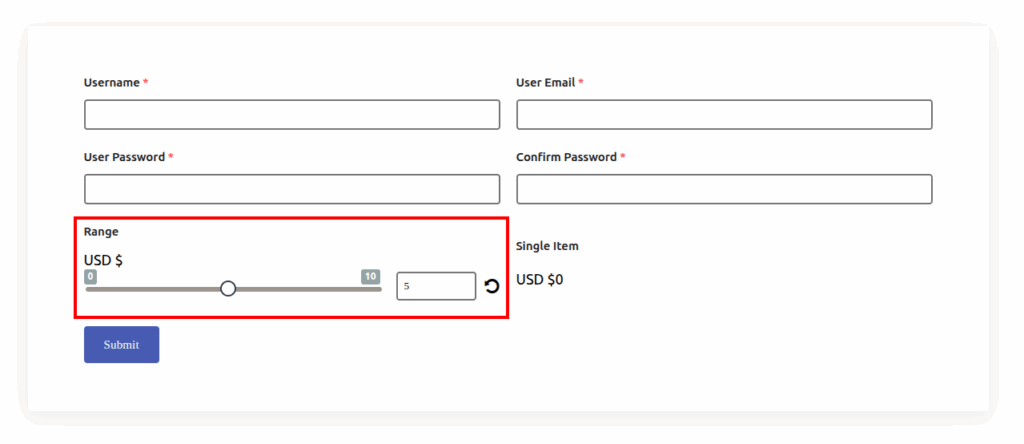
Range Slider Field
ProInteractive slider field for WordPress forms enabling users to select values like prices or quantities with customizable ranges, steps, and labels.
Last updated on Jul 15, 2026
Looking to add an interactive price selector or quantity slider to your registration forms? User Registration & Membership lets you use Range Slider fields with fully customizable minimum and maximum values, step increments, and prefix or postfix labels.
This tutorial will walk you through setting up and customizing Range Slider fields for both standard and payment-enabled forms.
Before getting started, make sure you've installed and activated the User Registration & Membership plugin on your WordPress site. For payment slider functionality, you'll also need to install and activate the Payment add-on.
Adding a Range Slider Field to Your Form (PRO)
To add a Range Slider field, go to User Registration & Membership > All Forms and select the form you want to edit. In the form builder, scroll to the Advanced Fields section in the left sidebar and drag the Range Slider field onto your form canvas.
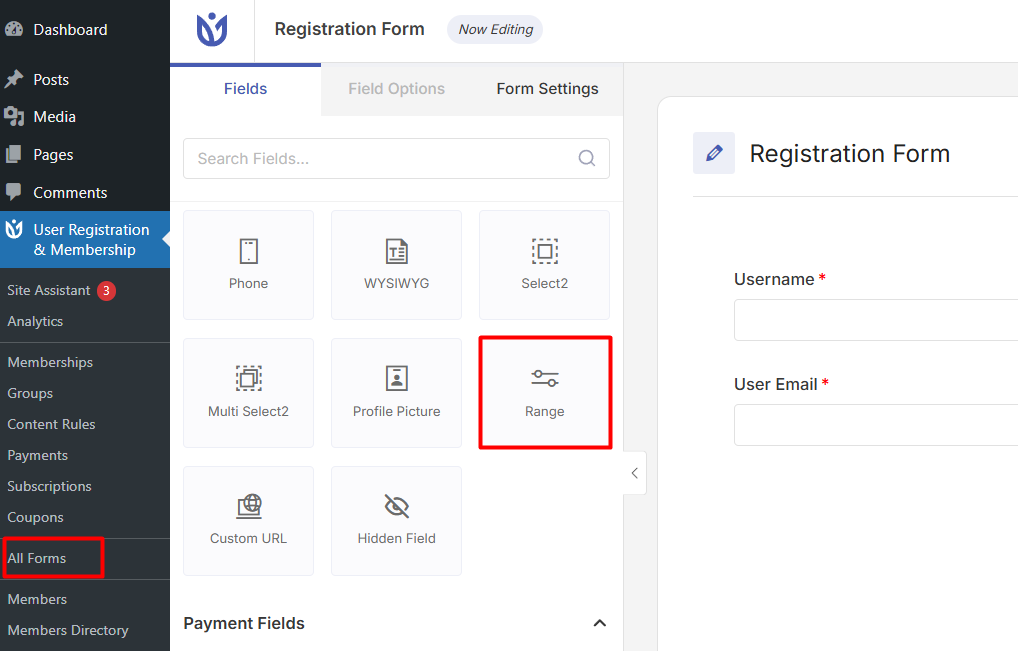
Once added, click on the Range Slider field to open the Field Options panel on the left.
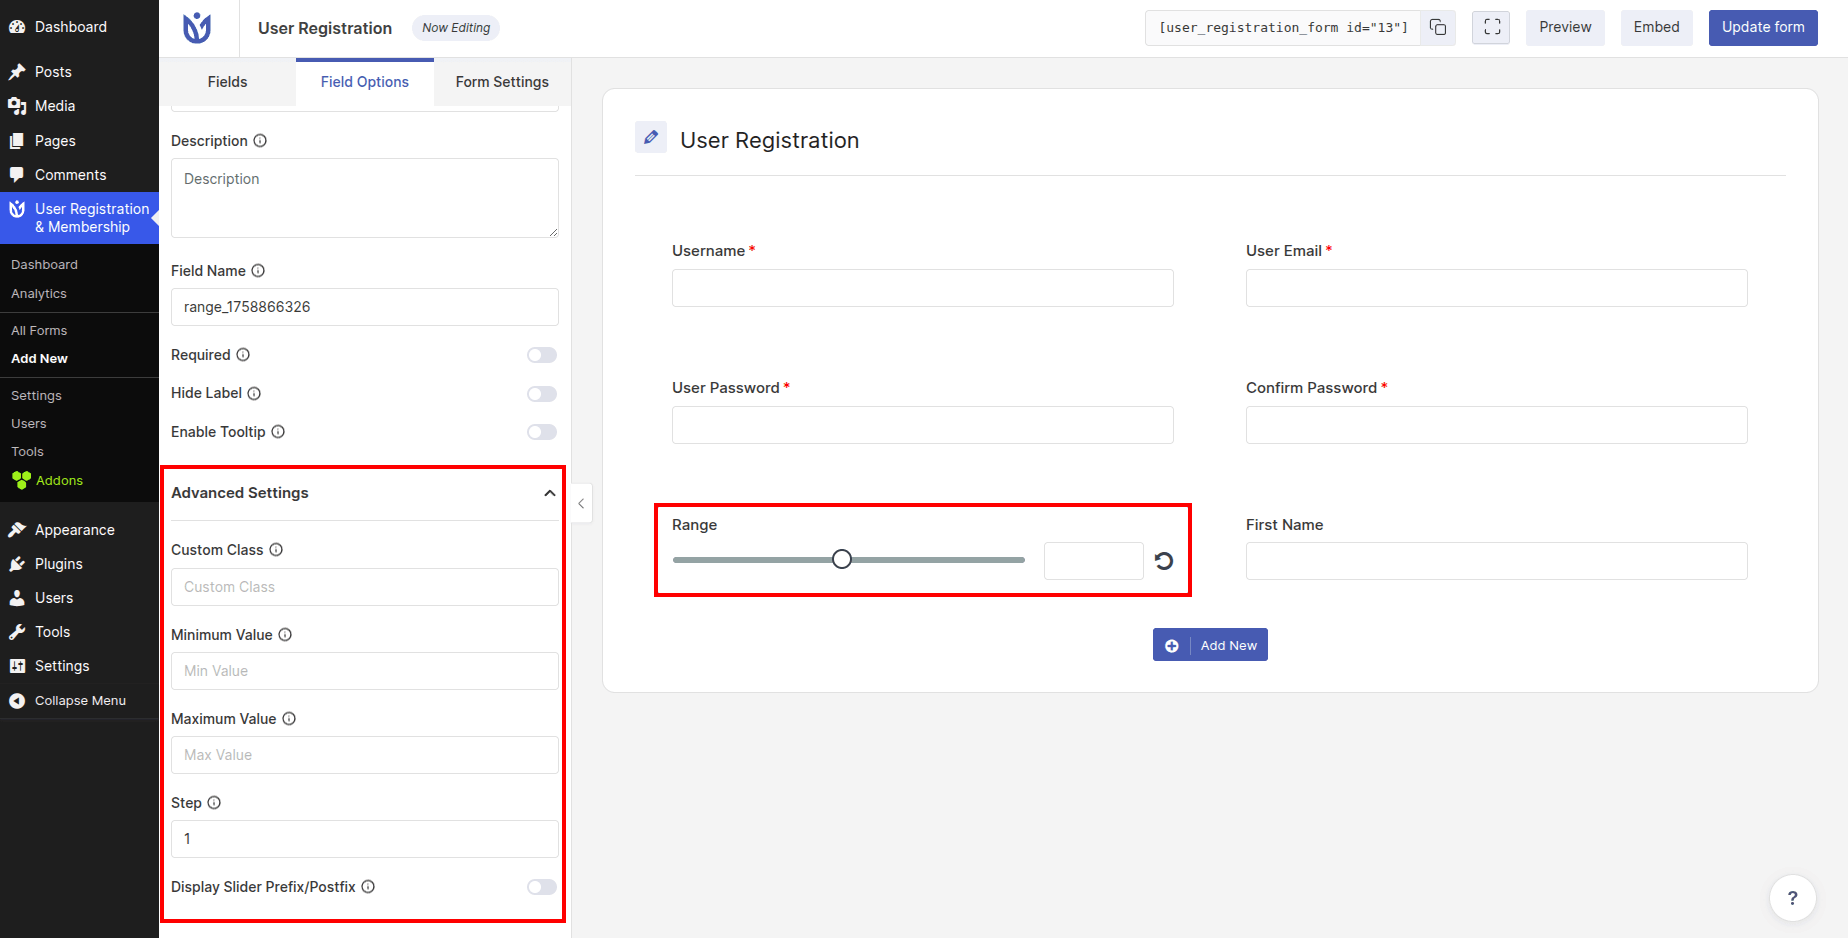
Setting Minimum and Maximum Values
The minimum and maximum values define the range of numbers users can select with the slider.
From the Field Options panel, locate the Advanced Settings section. Here, you'll see two key fields:
Minimum Value — Sets the lowest number users can select on the slider
Maximum Value — Sets the highest number users can select on the slider
For example, if you're creating a donation form, you might set the minimum value to 10 and the maximum value to 500. Users will then be able to slide between $10 and $500.
Configuring Slider Steps
The Steps setting controls the legal number intervals when the slider is moved. This determines how the slider increments as users drag it.
In the Advanced Settings section, find the Steps field and enter your desired interval. For instance:
A step value of 1 allows users to select any whole number (10, 11, 12, 13...)
A step value of 5 restricts selections to increments of 5 (10, 15, 20, 25...)
A step value of 10 allows only multiples of 10 (10, 20, 30, 40...)
Choose a step value that makes sense for your use case. Smaller steps give users more precision, while larger steps simplify the selection process.
Adding Prefix and Postfix Labels
Prefix and postfix labels help users understand what the slider values represent. For example, you might add a "$" prefix for prices or a "kg" postfix for weight.
To enable prefix and postfix display:
In the Advanced Settings section, toggle on Display Slider Prefix/Postfix
Then, toggle on Use Text Prefix/Postfix to add custom text labels
Enter your desired prefix text (appears before the number) or postfix text (appears after the number)
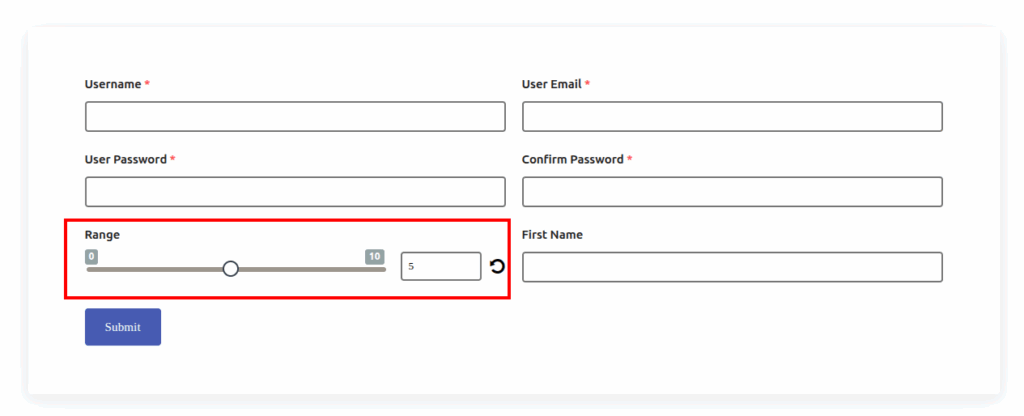
You must enable both options — first enable Display Slider Prefix/Postfix, then enable Use Text Prefix/Postfix to add your custom text.
Enabling Payment Slider Functionality
If you want the Range Slider to function as a payment field, you'll need the Payment add-on installed and activated.
Once the Payment add-on is active:
Click on the Range Slider field to open Field Options
Navigate to the Advanced Settings section
Toggle on Enable Payment Slider
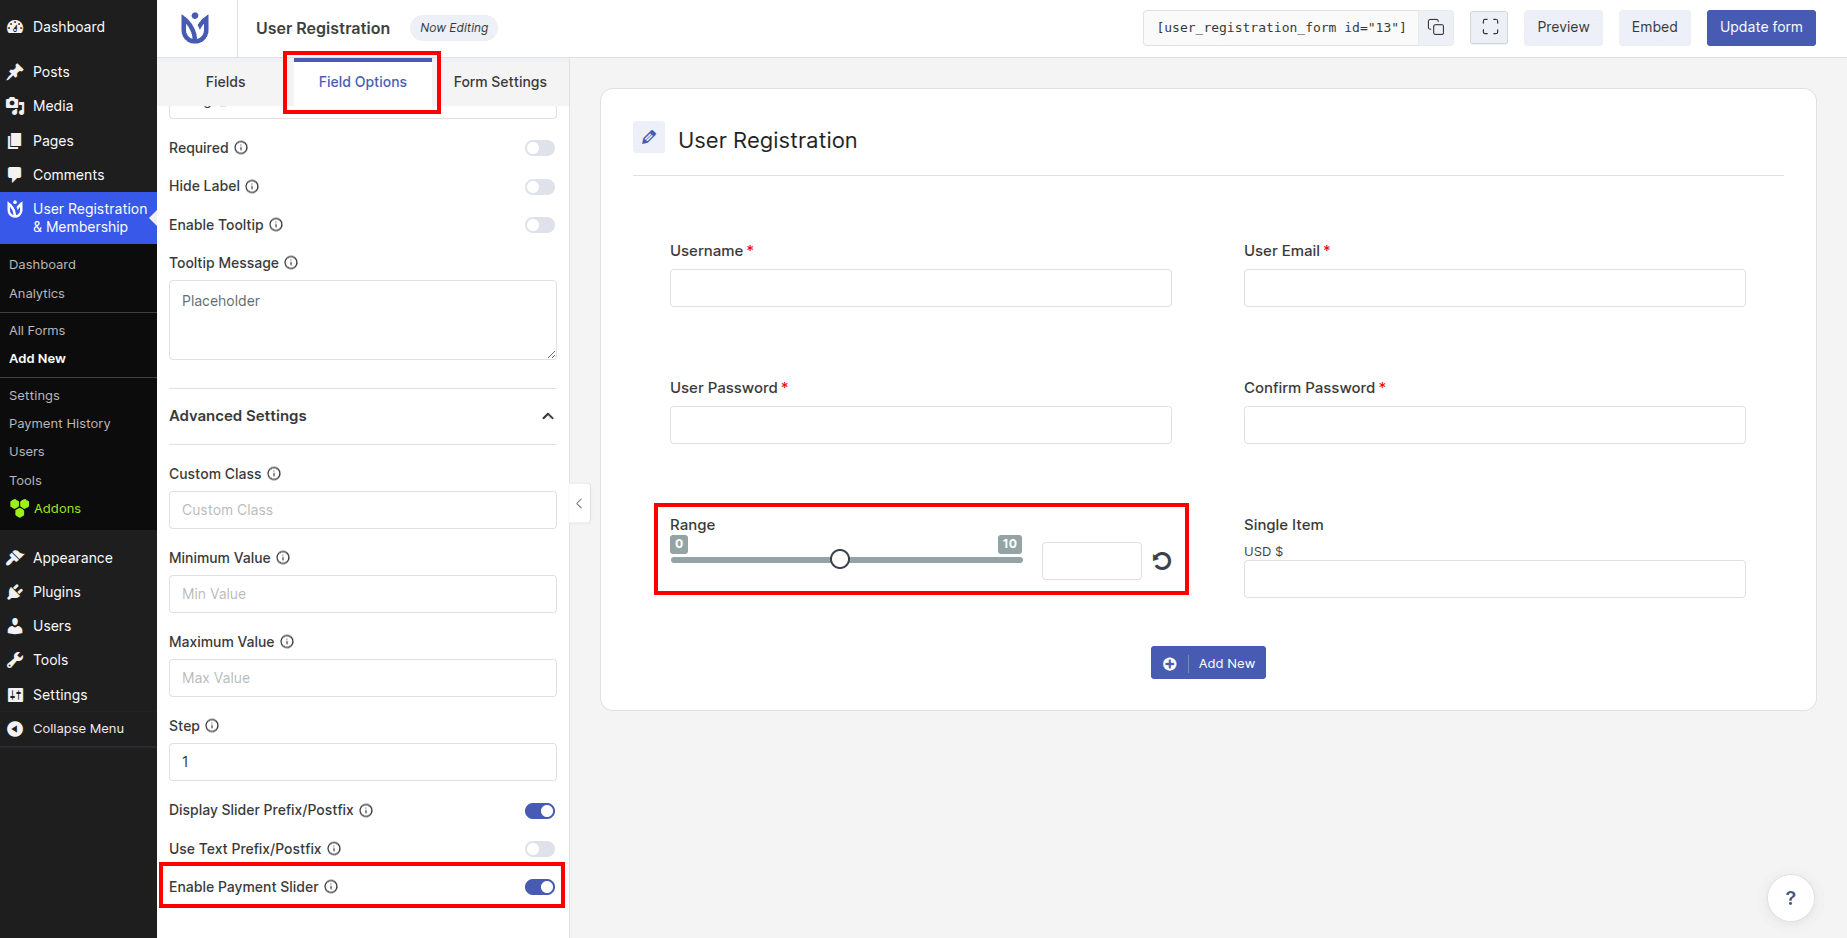
With payment slider enabled, the selected slider value will be used as the payment amount during checkout. This is perfect for donation forms, variable pricing, or "pay what you want" models.